
I like to play games. Board games, role playing games, card games, etc. These tend to be fairly complicated, with lots of pieces, rule books, dice, pens, boxes, etc. Space is always at a premium at the table, especially when you add in some cold beverages and the occasional snack.
There are a couple of options. The obvious one is to get a bigger table, and there are definitely some monster tables out there. An added benefit is that social distancing is built into the design. The second option is to go vertical, i.e. add another level. That way, you have room underneath for all your stuff. You can buy these of course, or you can build it yourself.
I thought this would be a quick and easy project. I mean, it's a piece of 1/2" plywood, 2'x3' in size. Some iron on edge banding, glue on some dowels for legs, done. Of course, I only had a one piece of 1/2" plywood on hand, and it was too narrow. I'm trying to minimize shopping trips right now and maximizing what I get, which meant getting the trailer so I could get four additional sheets of 3/4" for another project.
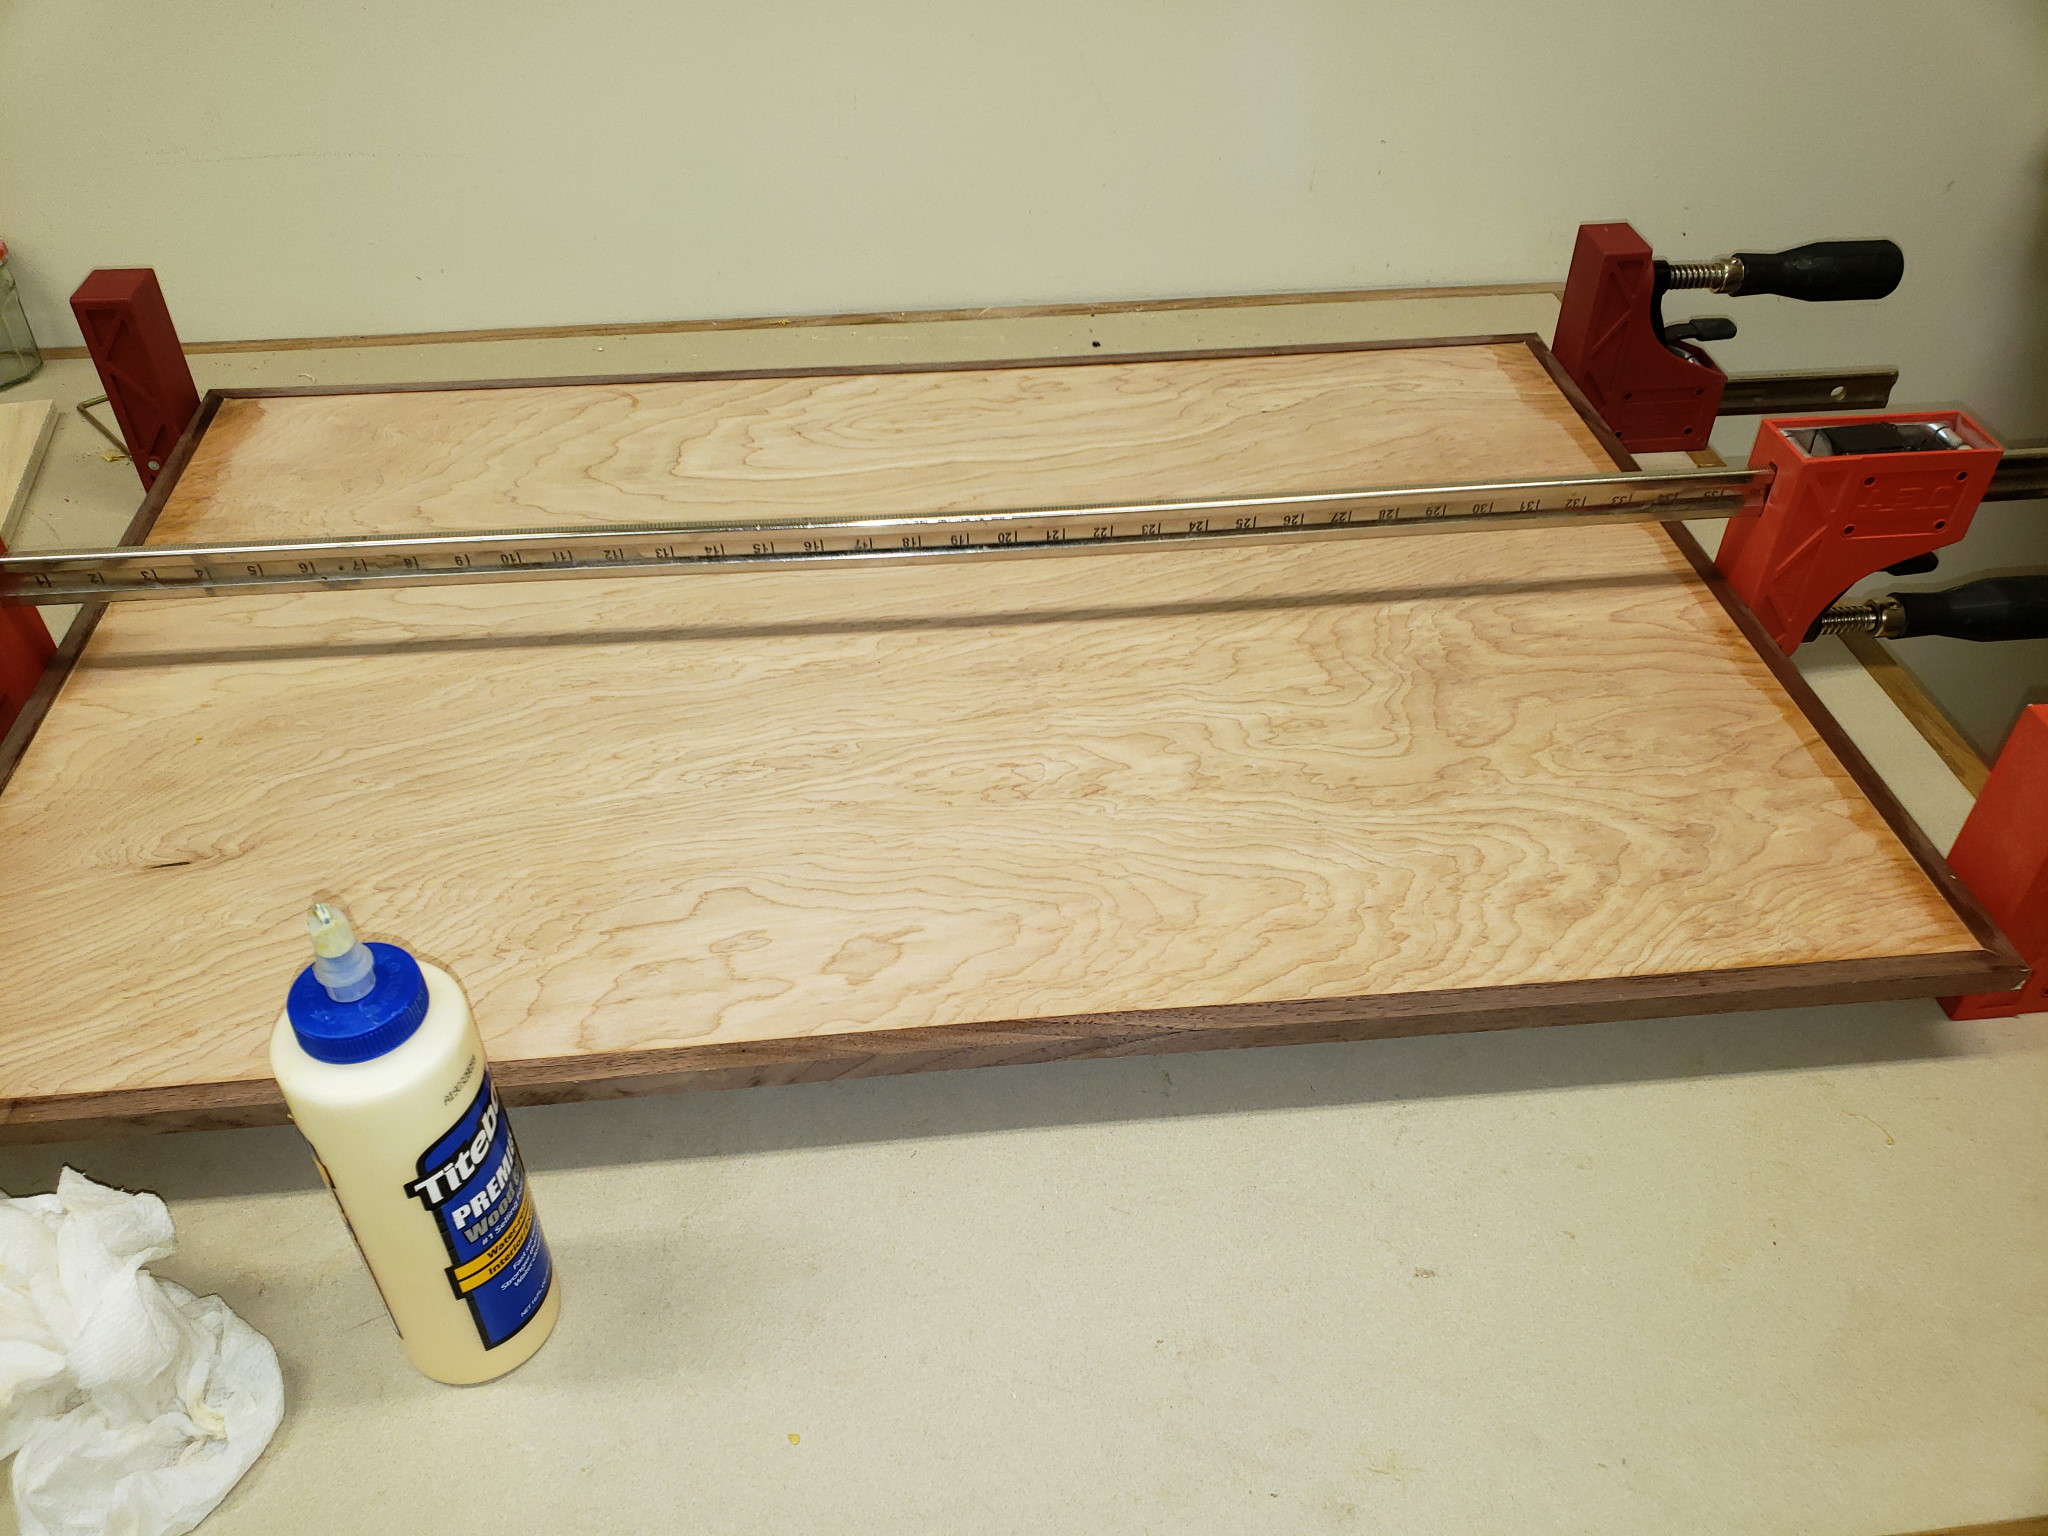
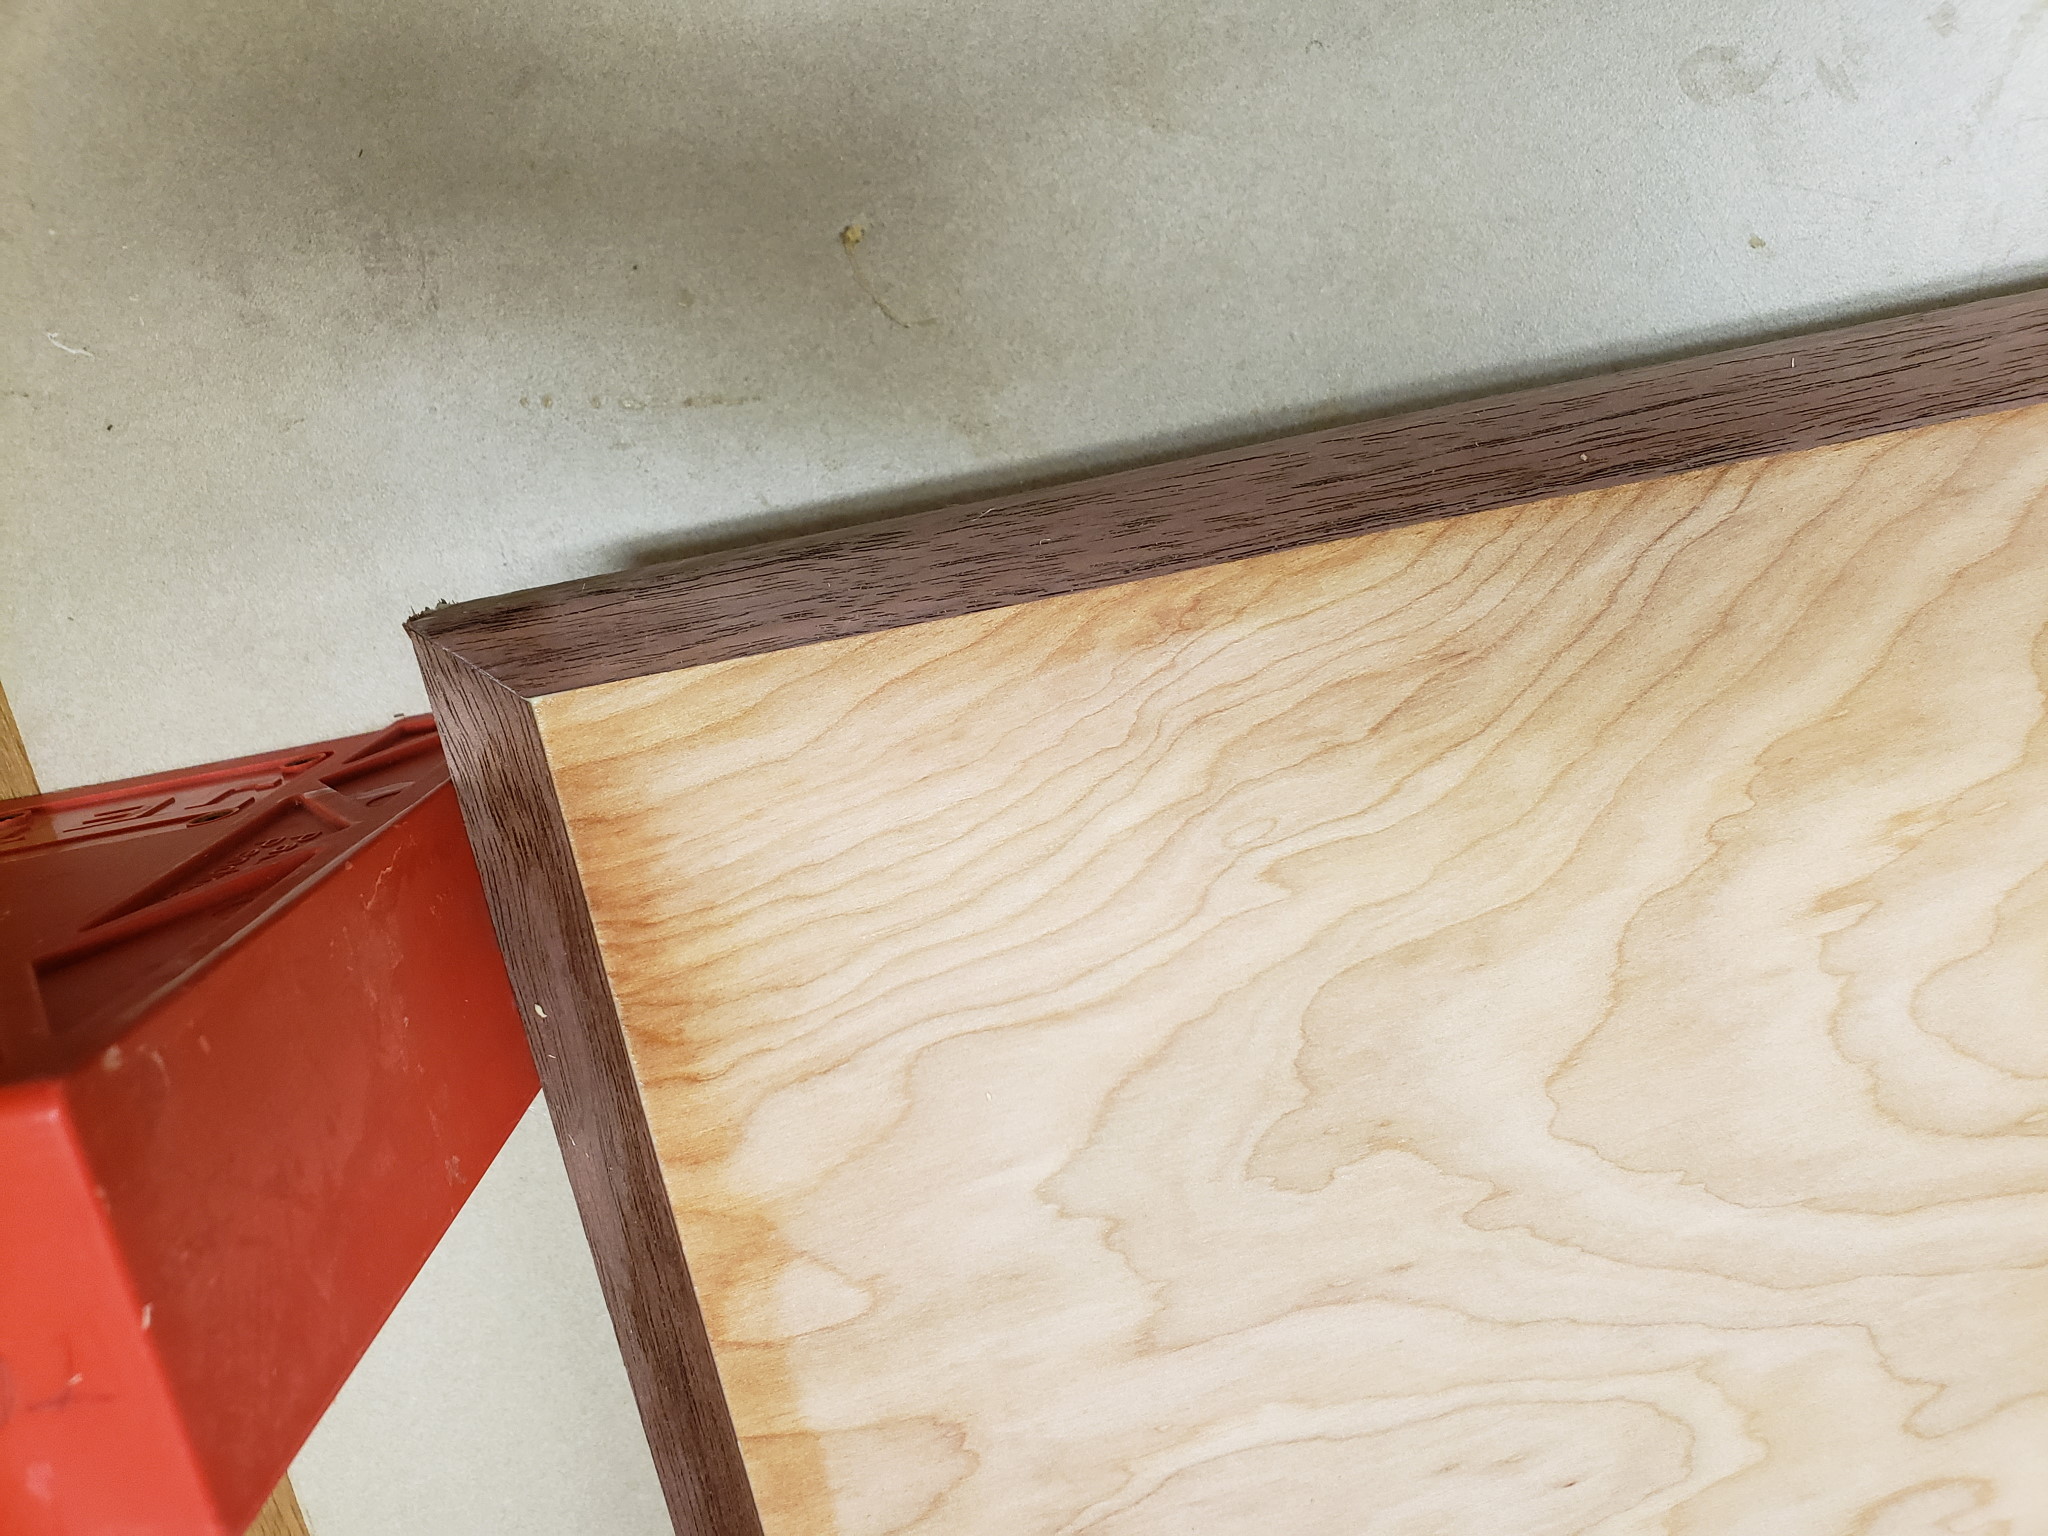
Iron-on edge banding is easy, but some thin strips of walnut would look much nicer. It's a bit more work to rip those strips, glue them on, flush it up without going through the plywood veneer, but hey, this is fun, right? This actually came out pretty good, I cut the miters on my new Bosch glide saw and they were spot on, no gaps at all.
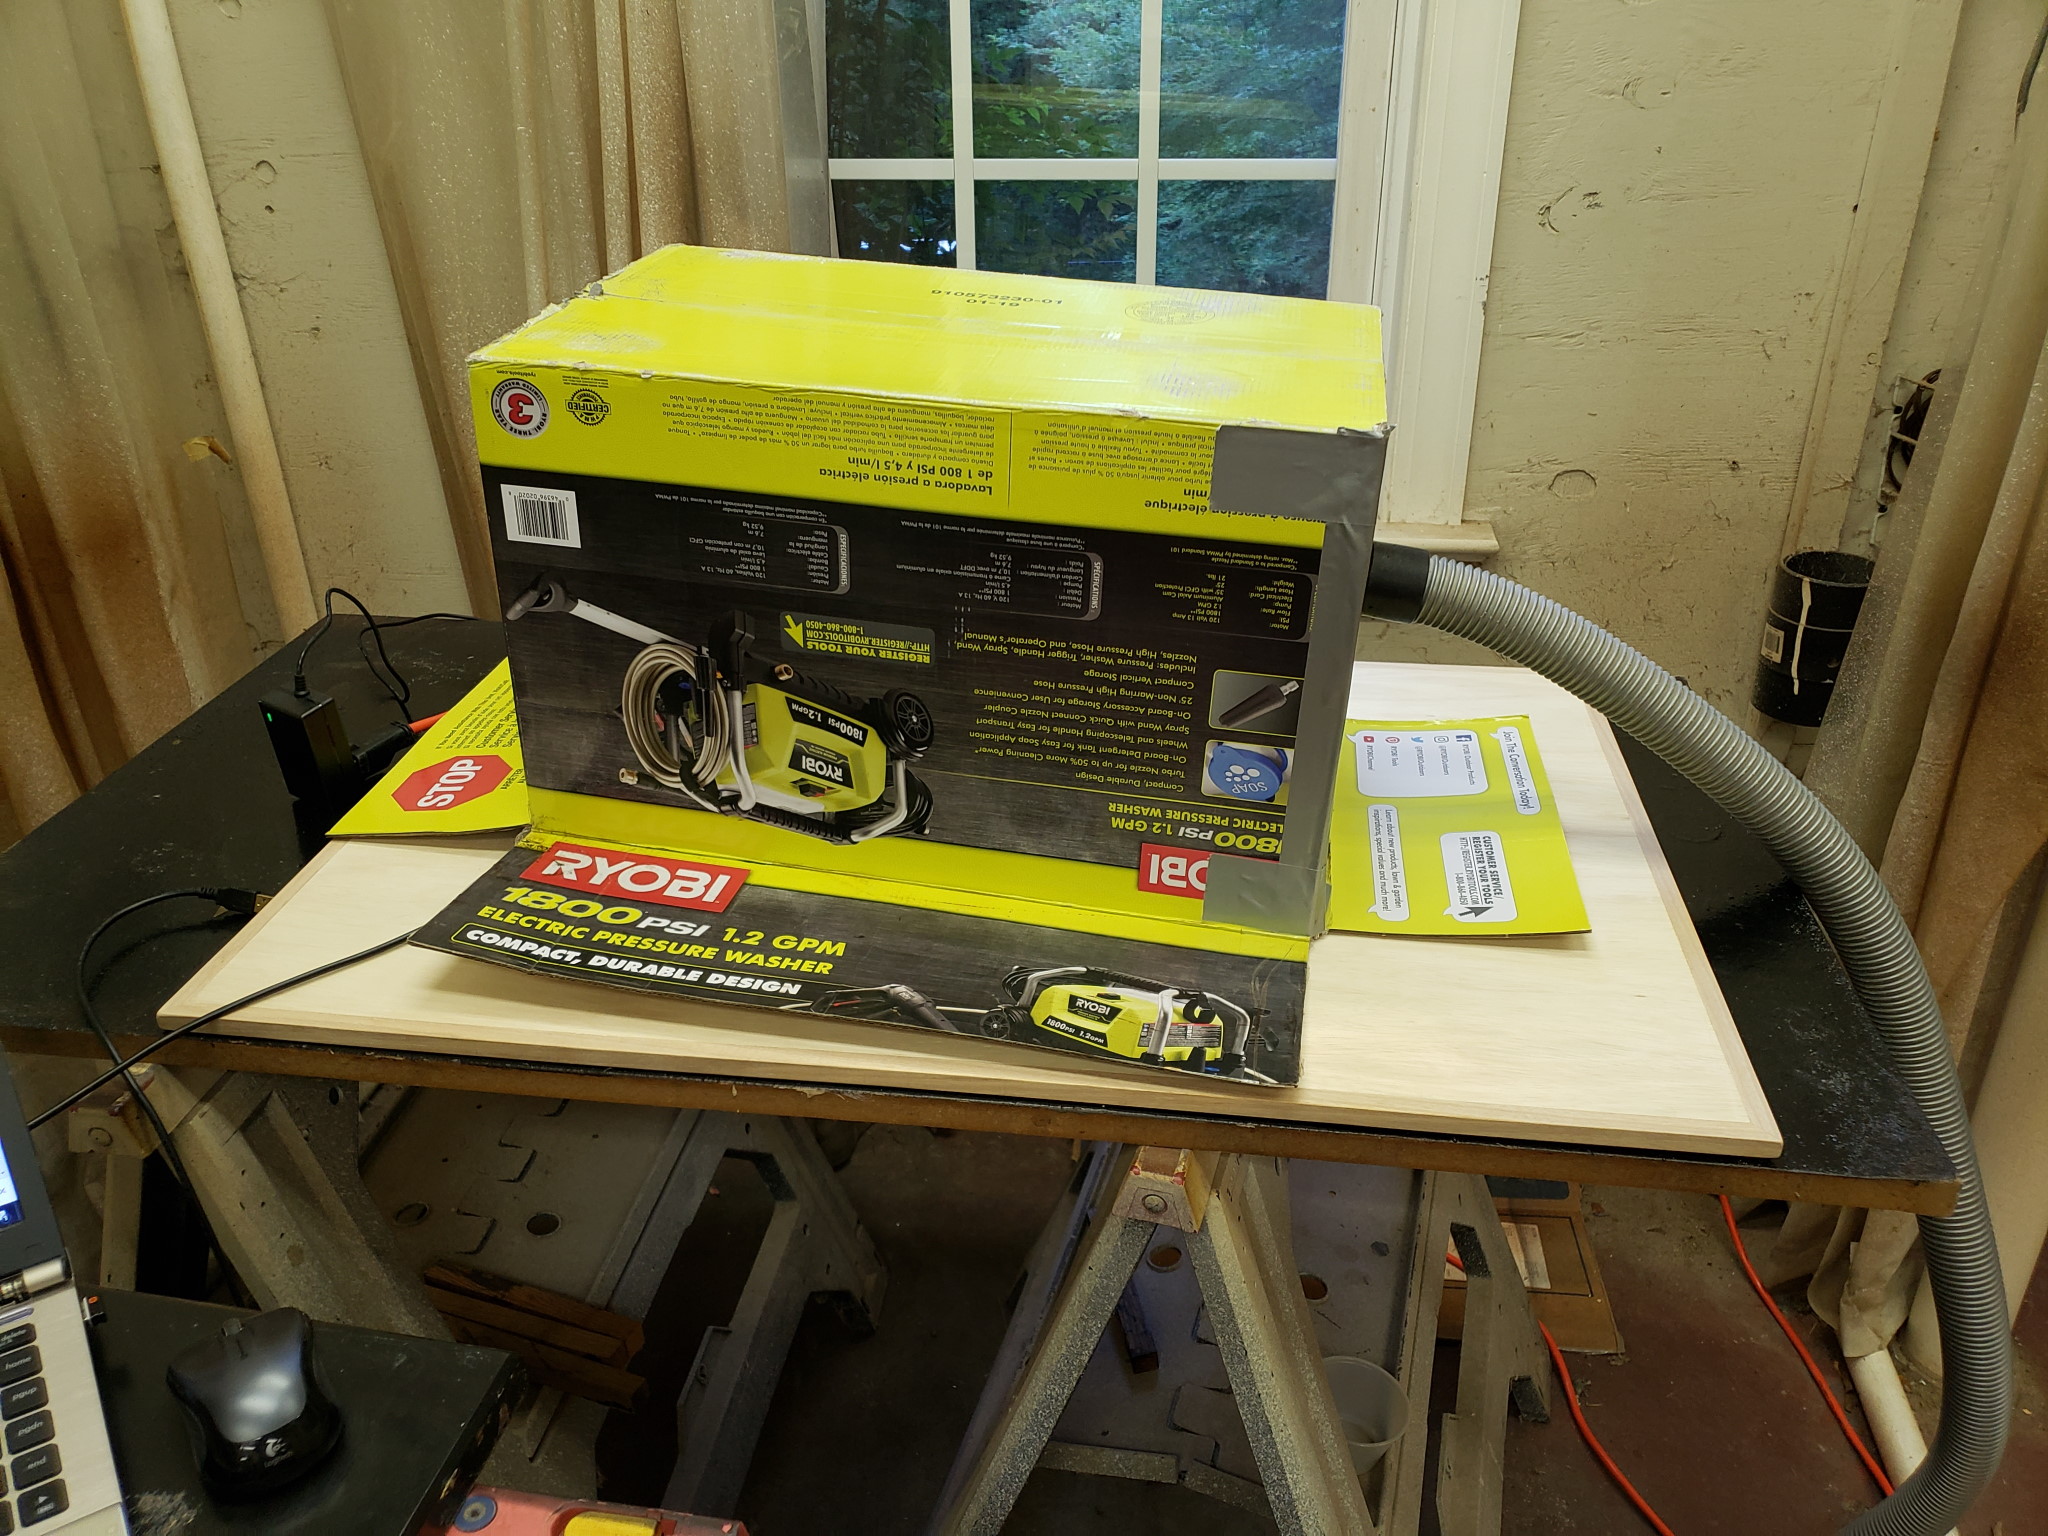
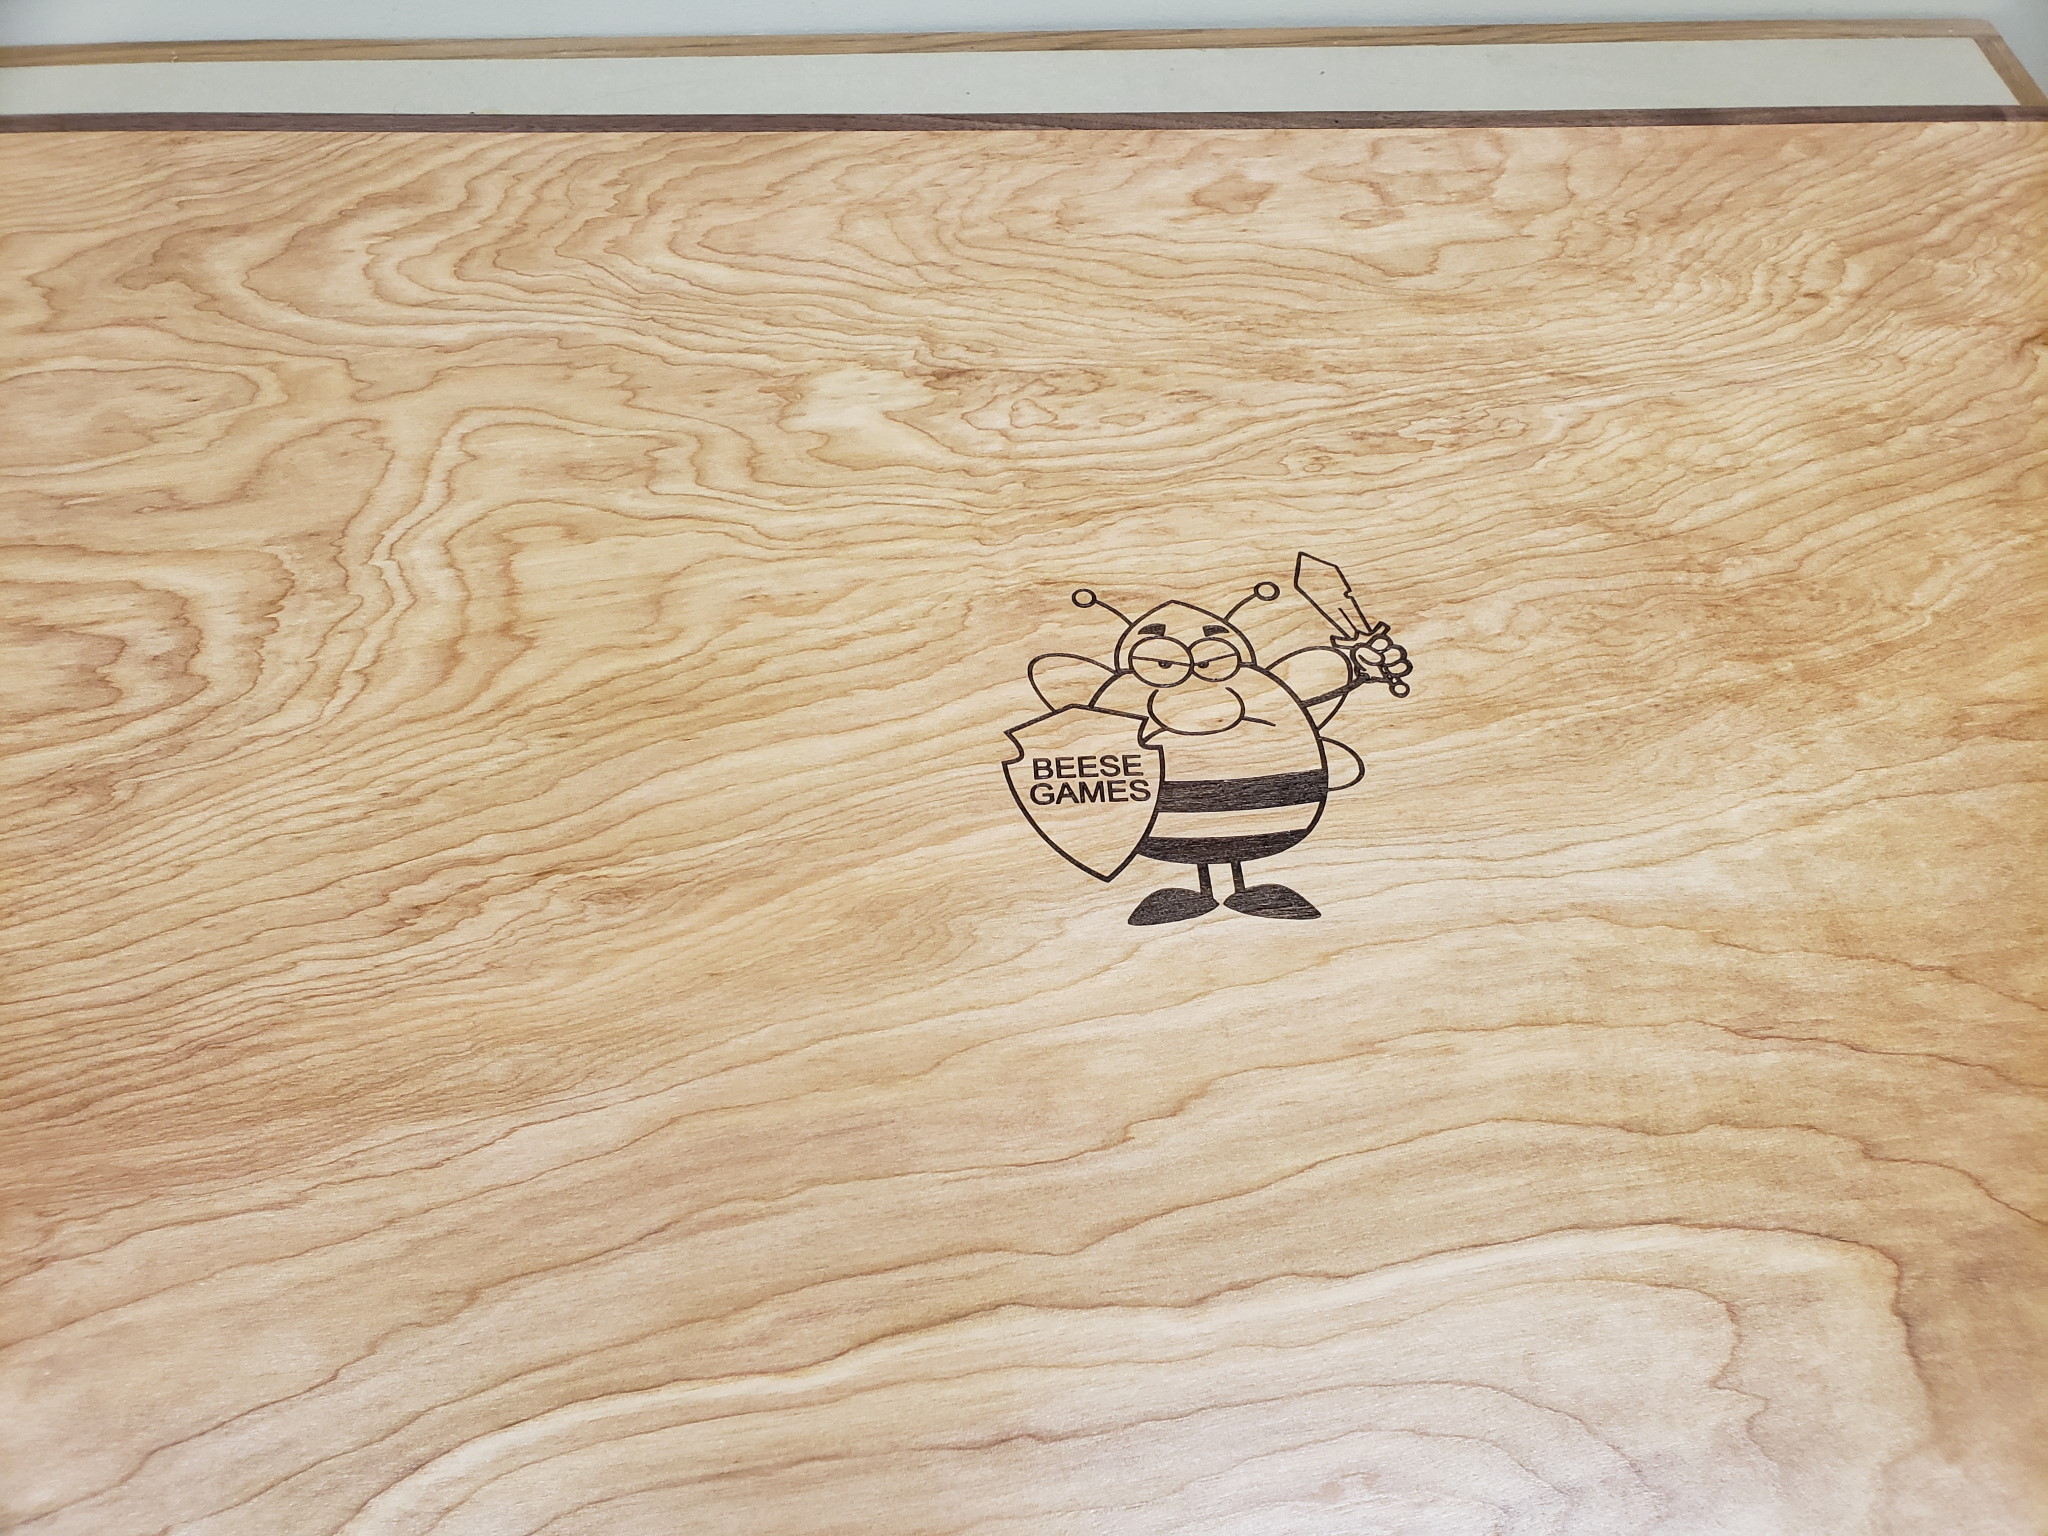
But the top looked a bit...plain. A plain plane. As our regular viewers know, I recently acquired a laser engraver. Problem solved! I bought some clip art, added some text, and formatted the image for engraving. One challenge is that this big piece of plywood doesn't fit inside the enclosure I built. You can simply place the engraver on the work piece of course, but now you've got all this wonderful flickering laser light, plus a steady stream of smoke. So I quickly built a portable enclosure, by cutting a hole in a box. Position the box over the engraver, put the shop vac outside, hook up the hose, and done!
It's a bit nerve wracking since you can't see what's going on, and this engraving took about 25 minutes (approx 6" x 6" in size).
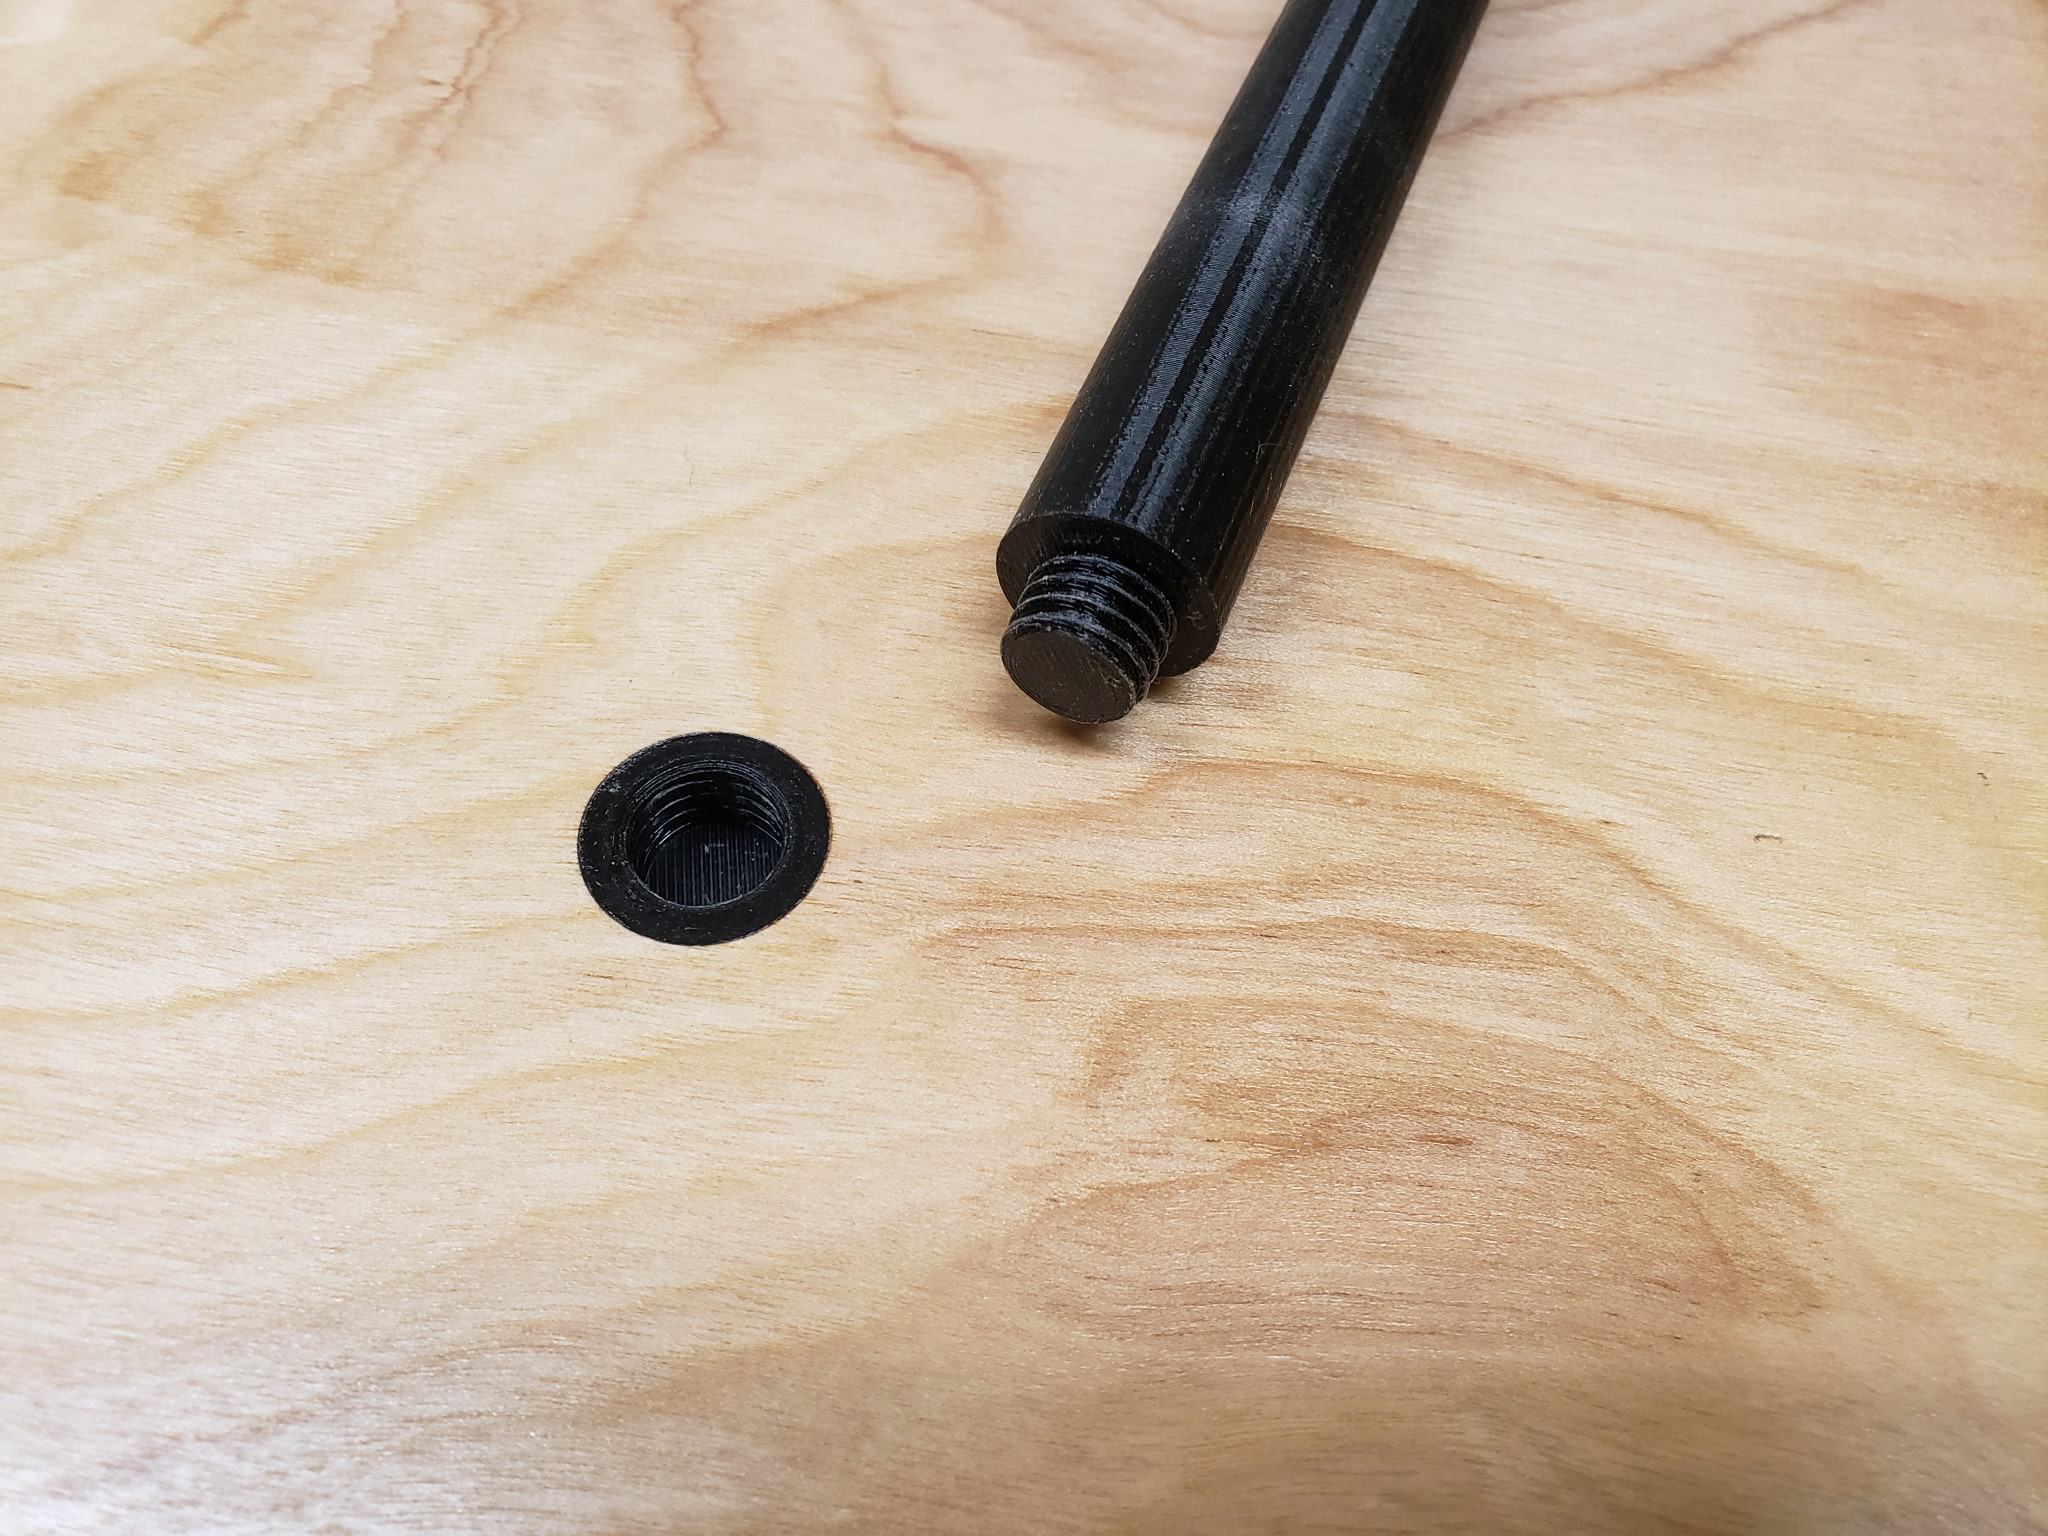
The legs were yet another challenge. I figured it would be good to make removable legs. That way, there is less chance of them breaking off when transporting it, and it's also easier to store. Another thought was to create legs of different length, to allow for different elevations. I'll ramble about the entire journey in a separate post, but in the end, I 3D printed some 6" legs, as well as the corresponding inserts.
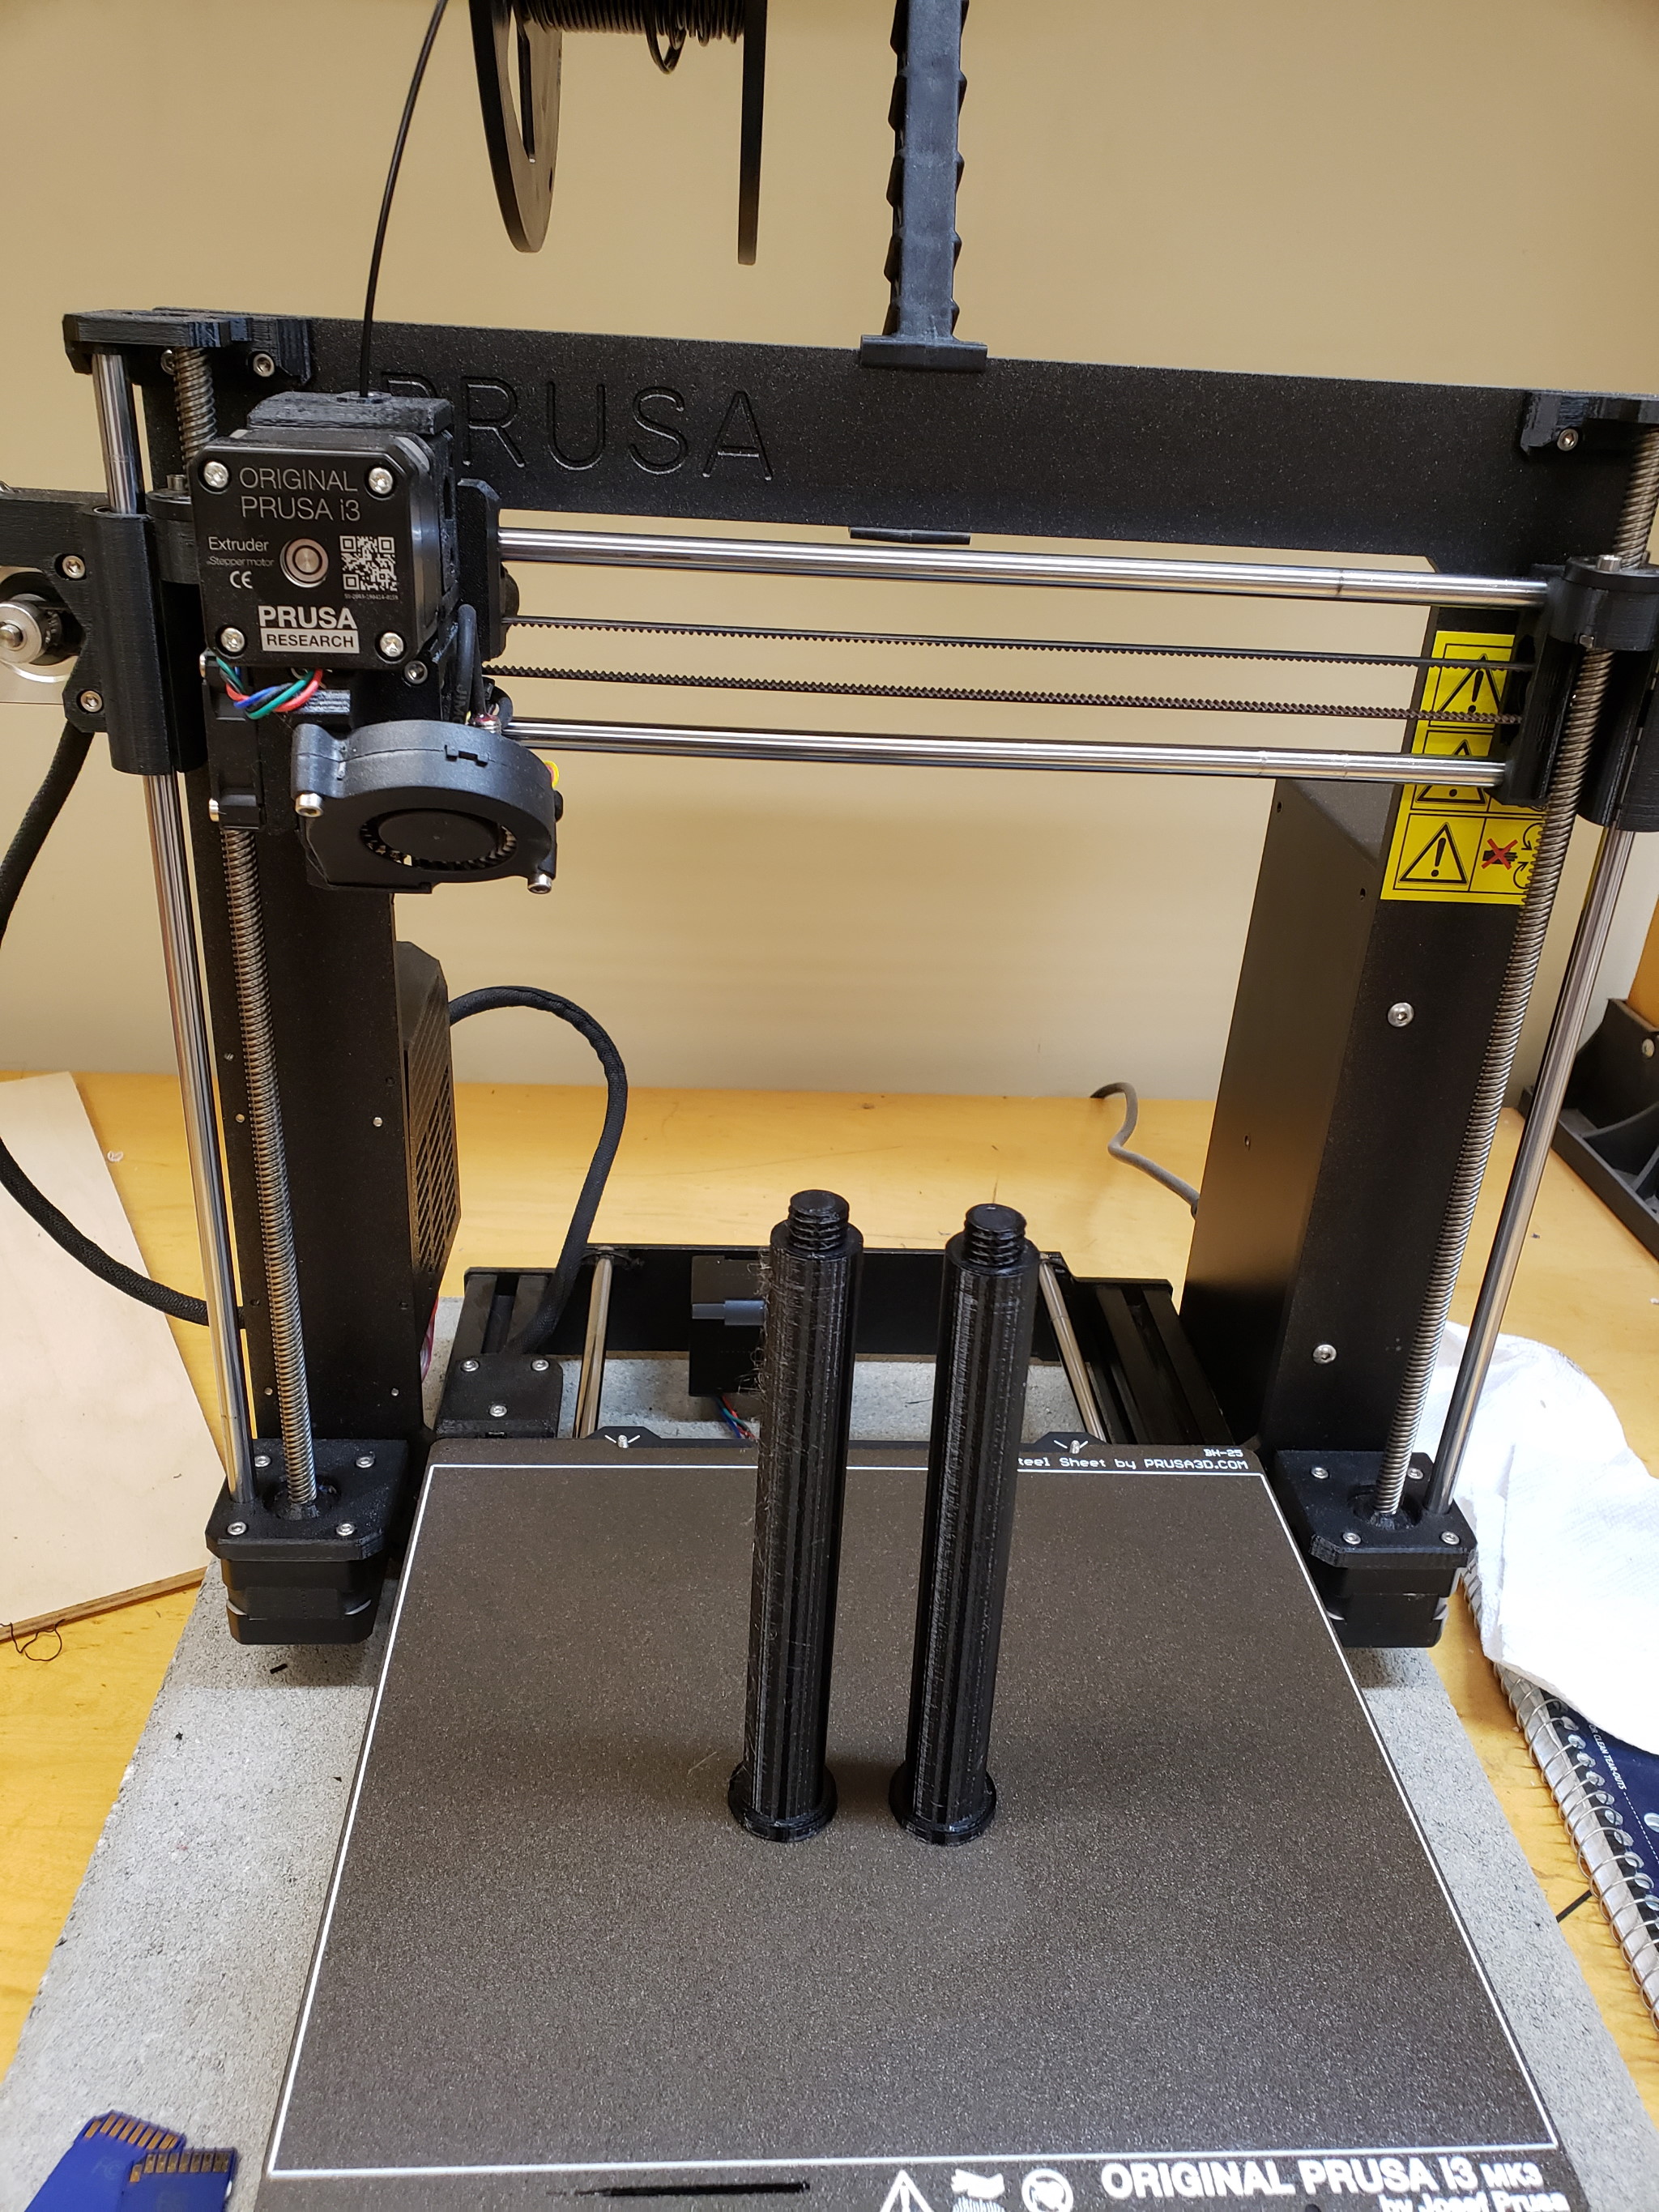
I have to say, printing parts that mechanically fit together is very cool. A little epoxy was all it took to glue the inserts into the top. The final step was spraying a rubber coating on the bottom of the feet to prevent slipping.
For the finish I sprayed a coat of dewaxed shellac, then 3 coats of Endurvar semi gloss. I don't think the shellac was needed, but I was a bit concerned on how the engraved area would react with a water based finish. Some more learning to do here.
All in all a fun project, and I'm happy with the result, but it went from being something to knock out on a Saturday afternoon to a month long project")
There are a couple of options. The obvious one is to get a bigger table, and there are definitely some monster tables out there. An added benefit is that social distancing is built into the design. The second option is to go vertical, i.e. add another level. That way, you have room underneath for all your stuff. You can buy these of course, or you can build it yourself.
I thought this would be a quick and easy project. I mean, it's a piece of 1/2" plywood, 2'x3' in size. Some iron on edge banding, glue on some dowels for legs, done. Of course, I only had a one piece of 1/2" plywood on hand, and it was too narrow. I'm trying to minimize shopping trips right now and maximizing what I get, which meant getting the trailer so I could get four additional sheets of 3/4" for another project.
Iron-on edge banding is easy, but some thin strips of walnut would look much nicer. It's a bit more work to rip those strips, glue them on, flush it up without going through the plywood veneer, but hey, this is fun, right? This actually came out pretty good, I cut the miters on my new Bosch glide saw and they were spot on, no gaps at all.
But the top looked a bit...plain. A plain plane. As our regular viewers know, I recently acquired a laser engraver. Problem solved! I bought some clip art, added some text, and formatted the image for engraving. One challenge is that this big piece of plywood doesn't fit inside the enclosure I built. You can simply place the engraver on the work piece of course, but now you've got all this wonderful flickering laser light, plus a steady stream of smoke. So I quickly built a portable enclosure, by cutting a hole in a box. Position the box over the engraver, put the shop vac outside, hook up the hose, and done!
It's a bit nerve wracking since you can't see what's going on, and this engraving took about 25 minutes (approx 6" x 6" in size).
The legs were yet another challenge. I figured it would be good to make removable legs. That way, there is less chance of them breaking off when transporting it, and it's also easier to store. Another thought was to create legs of different length, to allow for different elevations. I'll ramble about the entire journey in a separate post, but in the end, I 3D printed some 6" legs, as well as the corresponding inserts.
I have to say, printing parts that mechanically fit together is very cool. A little epoxy was all it took to glue the inserts into the top. The final step was spraying a rubber coating on the bottom of the feet to prevent slipping.
For the finish I sprayed a coat of dewaxed shellac, then 3 coats of Endurvar semi gloss. I don't think the shellac was needed, but I was a bit concerned on how the engraved area would react with a water based finish. Some more learning to do here.
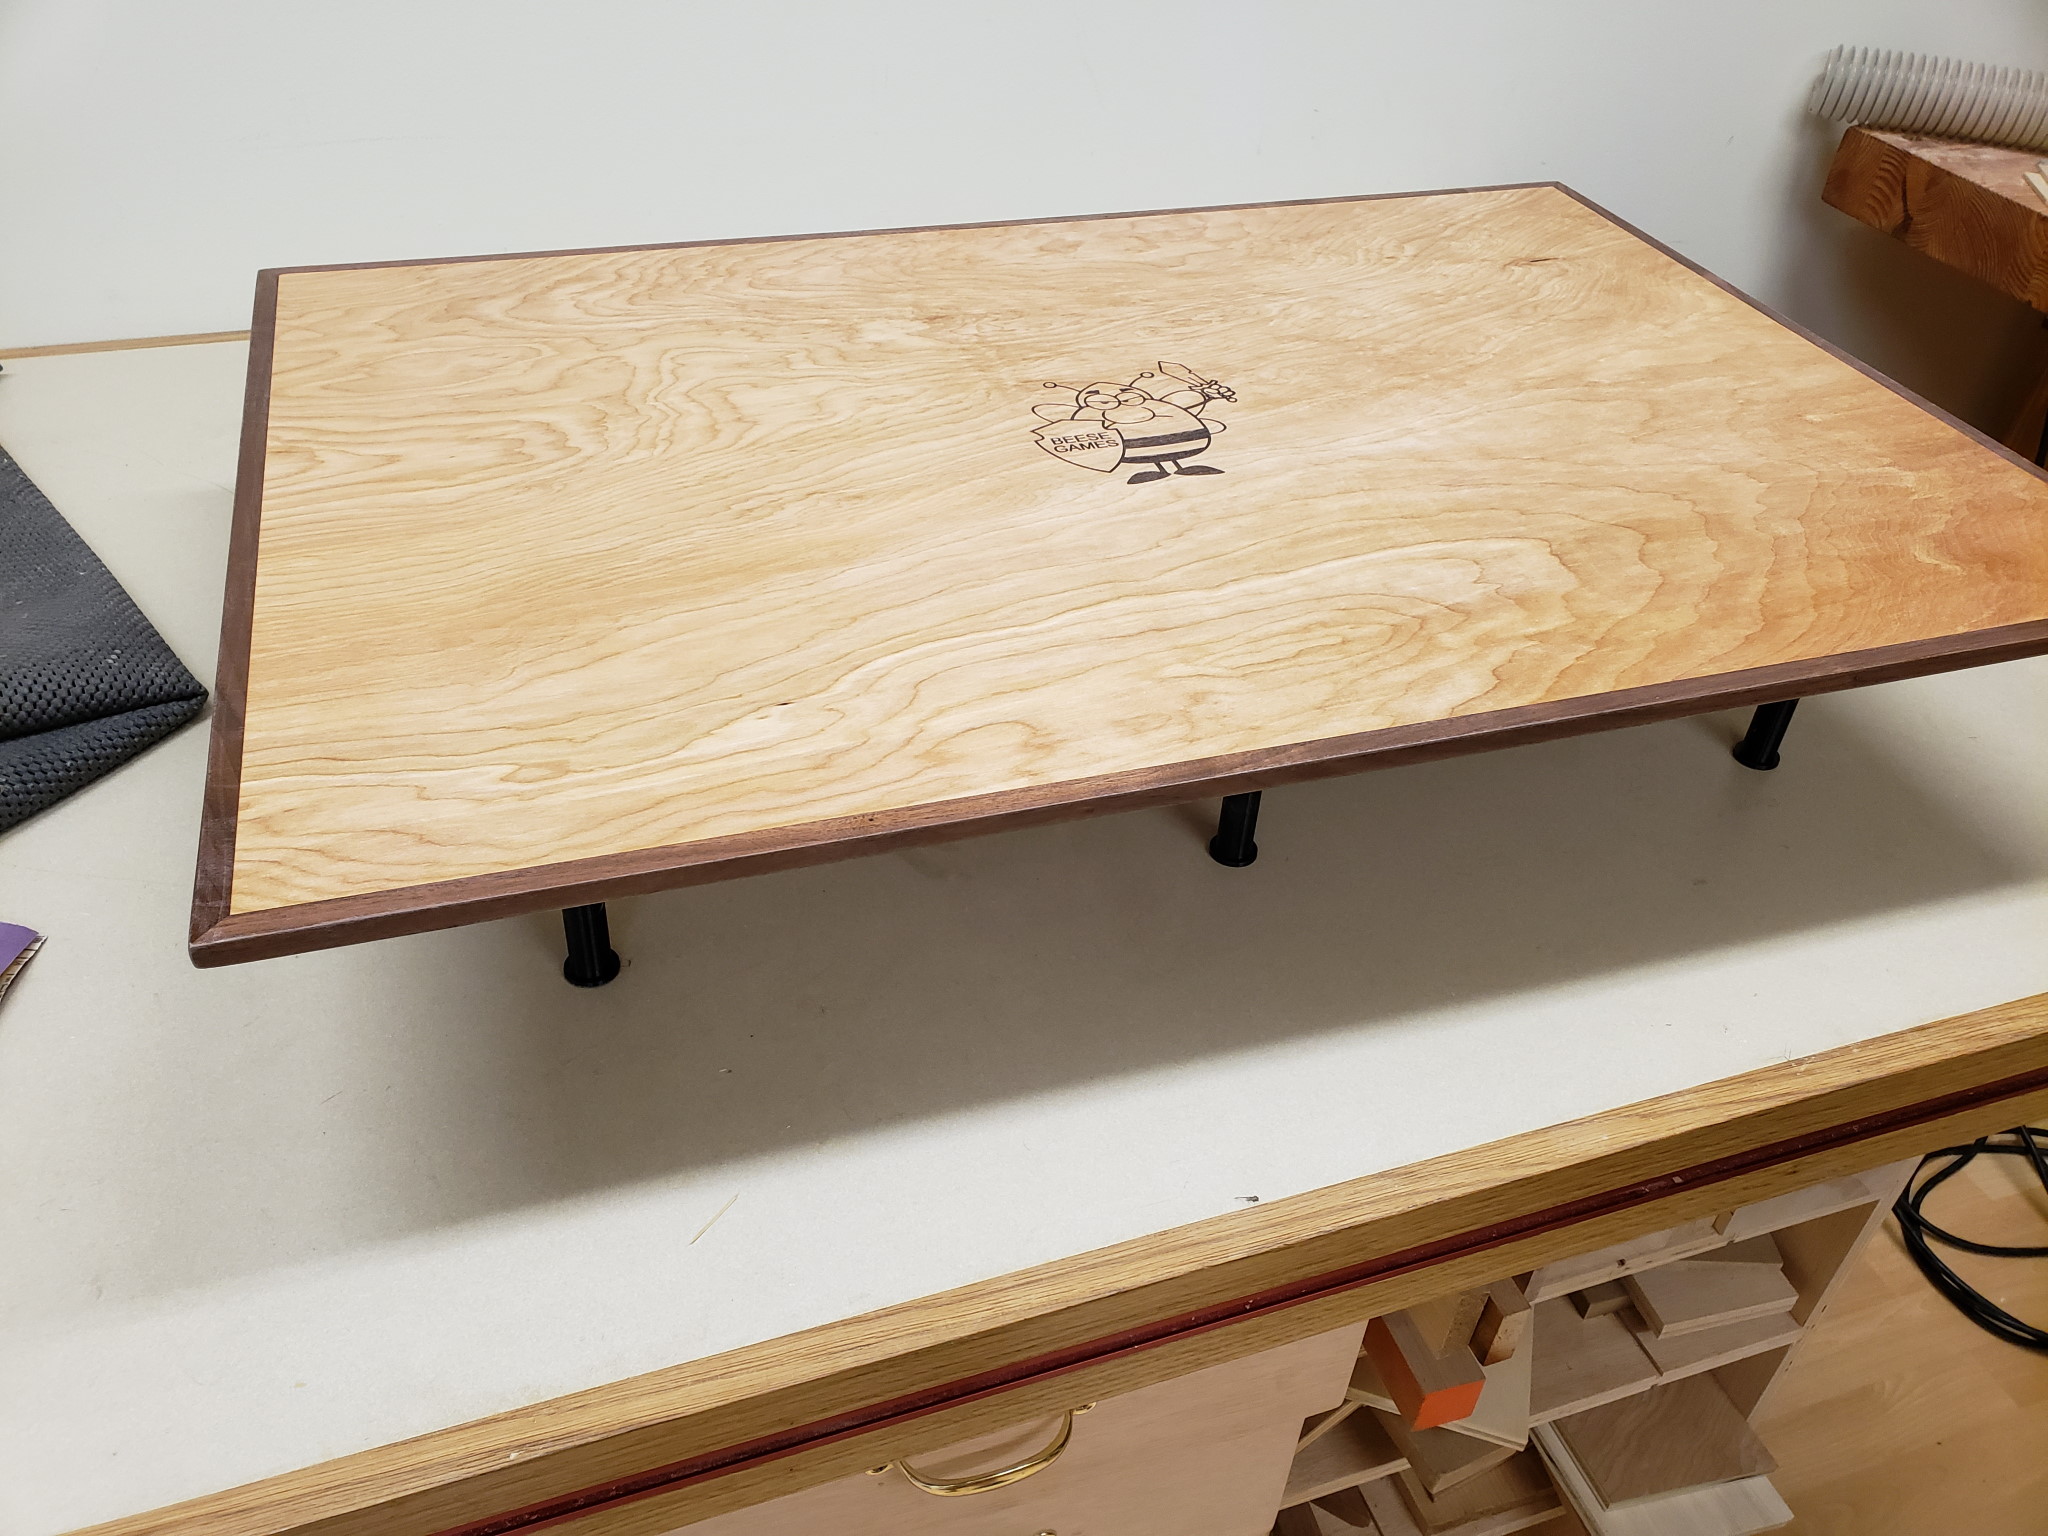
platform_complete.jpg
Project completed. For the finish, I sprayed a coat of dewaxed shellac, then three coats of...
All in all a fun project, and I'm happy with the result, but it went from being something to knock out on a Saturday afternoon to a month long project