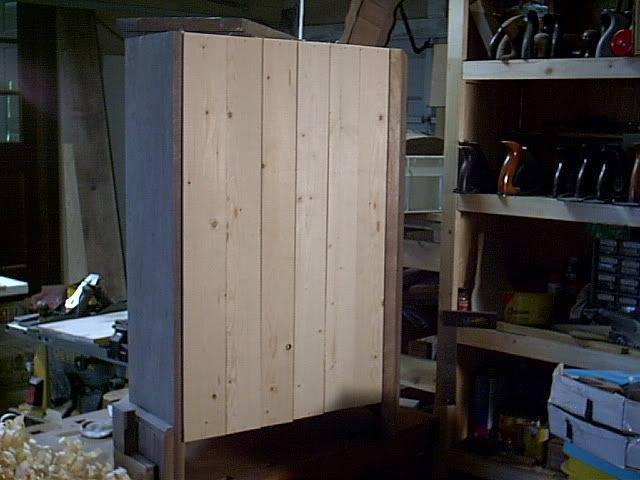
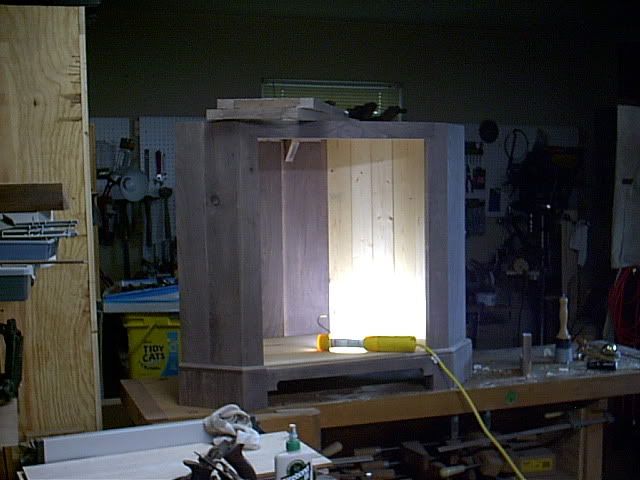
Well I cut the door panels to rough size and put them aside for later. Now is time to tackle the backboards. Since I hate seeing plywood in case goods, I take a little time to make something handcrafted. Usually starts with furring strips that have been split. In this case, the strips were 4" and got split on the bandsaw.
Our joint for today is a shiplap. I could just butt these little boards together, but when they shrink, they will let in dust. To prevent that, I will make a little rabbet on each side. Shiplap joints have rabbets on alternate sides. Here is one that has been made.
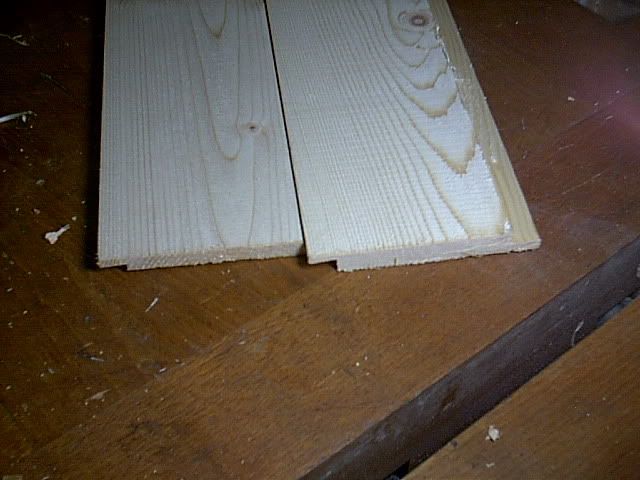
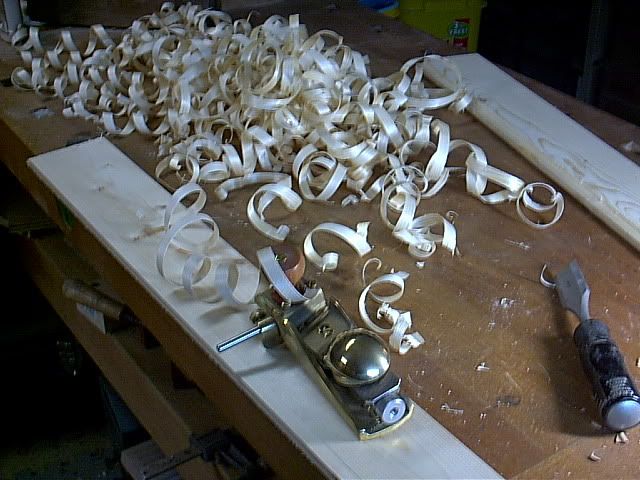
That should keep the dust out quite nicely. These joints are pretty easy to make with any rabbet plane, but I opted for my LN #140. It is a skew rabbet and has a nice fence. Here it is with fence in place, sideplate removed, and ready to go:

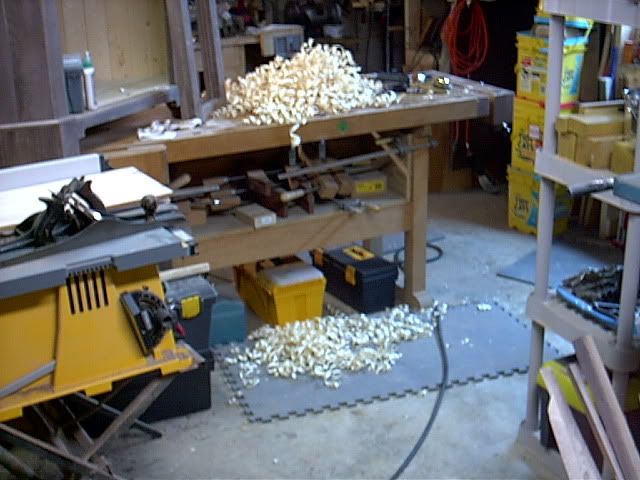
It does not take long to fill up the workbench with nice curly shavings.
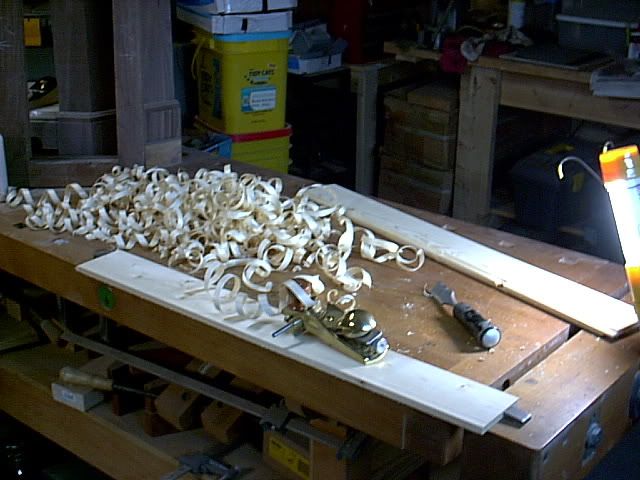
I made the shavings pretty thick because this white pine is soft and precision is not rewarded here. The chisel is for cutting out knots. This is pretty clear wood, but knots on the edge are really bad on the plane. They are also pretty bad on the chisel, so I use a beater chisel to work on them. No use chipping out my pretty little Japanese chisels on pine knots.
Our joint for today is a shiplap. I could just butt these little boards together, but when they shrink, they will let in dust. To prevent that, I will make a little rabbet on each side. Shiplap joints have rabbets on alternate sides. Here is one that has been made.
That should keep the dust out quite nicely. These joints are pretty easy to make with any rabbet plane, but I opted for my LN #140. It is a skew rabbet and has a nice fence. Here it is with fence in place, sideplate removed, and ready to go:
It does not take long to fill up the workbench with nice curly shavings.
I made the shavings pretty thick because this white pine is soft and precision is not rewarded here. The chisel is for cutting out knots. This is pretty clear wood, but knots on the edge are really bad on the plane. They are also pretty bad on the chisel, so I use a beater chisel to work on them. No use chipping out my pretty little Japanese chisels on pine knots.