You are using an out of date browser. It may not display this or other websites correctly.
You should upgrade or use an alternative browser.
You should upgrade or use an alternative browser.
david
-

woodworking on David Letterman
Here is an clip from the David Letterman Show that features an actor / woodworker who was pictured on the cover of FWW #222. Mr Letterman seems reasonably impressed by the work and show a couple of really nice pieces, including a cedar strip canoe.- merrill77
- Thread
- david letterman woodworking
- Replies: 3
- Forum: User Announcements
-
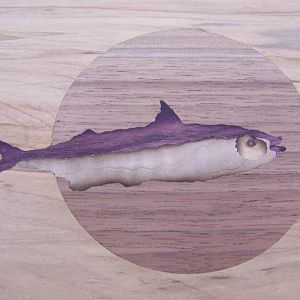
Finished Inlay
The finished product- McRabbet
- Media item
- david marks marquetry
- Comments: 0
- Album: David Marks Marquetry Class
-
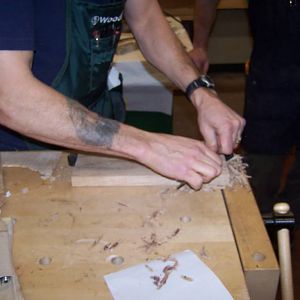
Scraping to finish leveling Inlay
Cabinet scraper used to smooth the final surface.- McRabbet
- Media item
- david marks marquetry
- Comments: 0
- Album: David Marks Marquetry Class
-
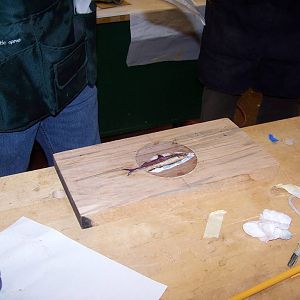
Inlay ready for Scraping
Ready to remove pattern and an uneveness from inlay. Cabinet scraper is ideal for this step.- McRabbet
- Media item
- david marks marquetry
- Comments: 0
- Album: David Marks Marquetry Class
-
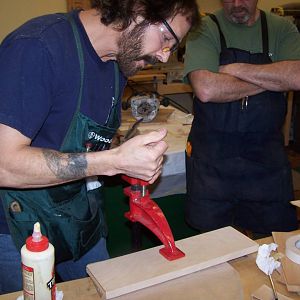
Caul Clamped to set Inlay in Place
A heavy C Clamp is used to press inlay into work piece and force excess glue out.- McRabbet
- Media item
- david marks marquetry
- Comments: 0
- Album: David Marks Marquetry Class
-
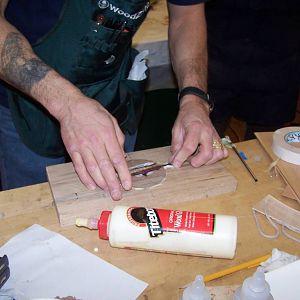
Final Gluing
Inlay is set into main work piece.- McRabbet
- Media item
- david marks marquetry
- Comments: 0
- Album: David Marks Marquetry Class
-
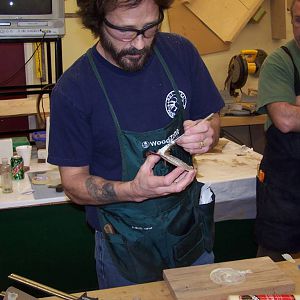
Final Gluing
Inlay piece and work piece receive a generous coating of Titebond I.- McRabbet
- Media item
- david marks marquetry
- Comments: 0
- Album: David Marks Marquetry Class
-
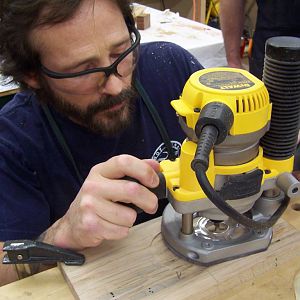
Tail Area Routed out
The tail inlay area is routed out with a 1/16" bit by hand. Bit depth is set to just under the material thickness.- McRabbet
- Media item
- david marks marquetry
- Comments: 0
- Album: David Marks Marquetry Class
-
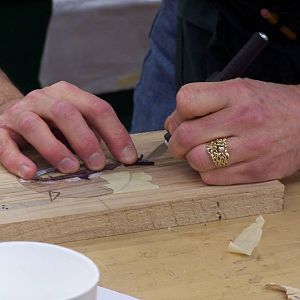
Defining the tail cutout area
A sharp Exacto knife is used to define the tail inlay area in main work piece.- McRabbet
- Media item
- david marks marquetry
- Comments: 0
- Album: David Marks Marquetry Class
-
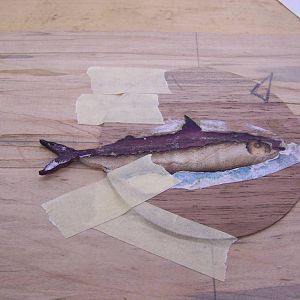
David's Inlay ''in the rough''
With all of the inlay pieces cut and shaded, it is placed in depression in preparation for tail cut outside the template area.- McRabbet
- Media item
- david marks marquetry
- Comments: 0
- Album: David Marks Marquetry Class
-
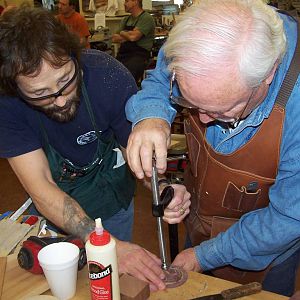
David assists Jerry
Inlay piece is clamped into field piece during glue up- McRabbet
- Media item
- david marks marquetry
- Comments: 0
- Album: David Marks Marquetry Class
-
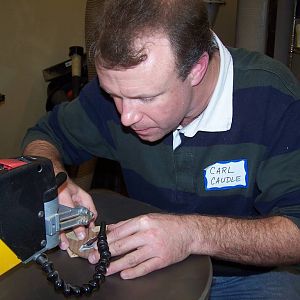
Student Carl Caudle at the Scrollsaw
- McRabbet
- Media item
- caudle david marks marquetry
- Comments: 0
- Album: David Marks Marquetry Class
-
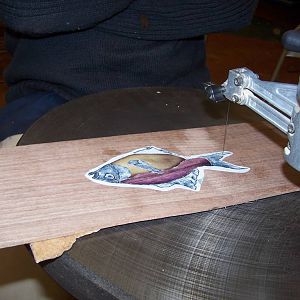
A student piece
- McRabbet
- Media item
- david marks marquetry
- Comments: 0
- Album: David Marks Marquetry Class
-
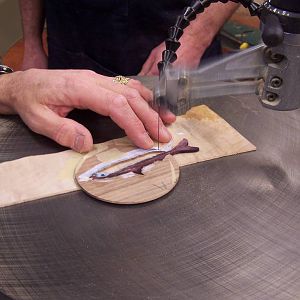
Cutting second Inlay
David positioned nice quilted maple through a new window and proceeds to cut it out.- McRabbet
- Media item
- david marks marquetry
- Comments: 0
- Album: David Marks Marquetry Class
-
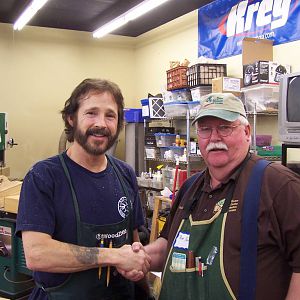
Master and Student
- McRabbet
- Media item
- david marks marquetry
- Comments: 0
- Album: David Marks Marquetry Class
-
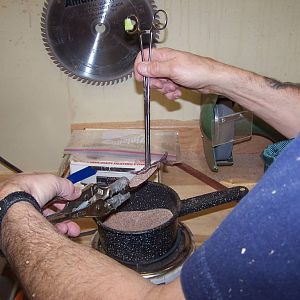
Hot Sand Shading
David dips piece into very hot sand to darken an edge of a piece.- McRabbet
- Media item
- david marks marquetry
- Comments: 0
- Album: David Marks Marquetry Class
-
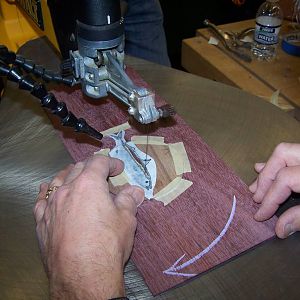
Cut on the line!
Cut proceeds along pattern line (small window waste can be seen within final field).- McRabbet
- Media item
- david marks marquetry
- Comments: 0
- Album: David Marks Marquetry Class
-
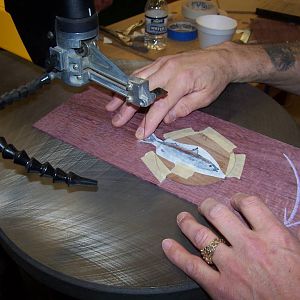
First Inlay Material
After window cut and piece positioned for best grain, cut is made starting at left end and piece rotated clockwise around cutout.- McRabbet
- Media item
- david marks marquetry
- Comments: 0
- Album: David Marks Marquetry Class
-
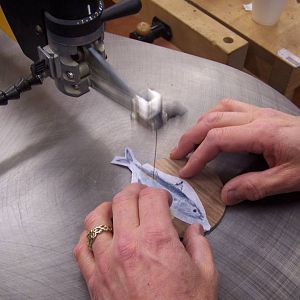
Start with a Window
A window is cut in disk inside final cutline for first inlay to allow one to see the grain of inlay material through window. Blade set to 6° and cut starts on left side.- McRabbet
- Media item
- david marks marquetry
- Comments: 0
- Album: David Marks Marquetry Class
-
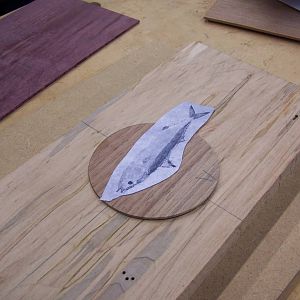
Pattern glued to Main Inlay
David chose a fish for subject -- tail will be inlaid to main workpiece last.- McRabbet
- Media item
- david marks marquetry
- Comments: 0
- Album: David Marks Marquetry Class
LATEST FOR SALE LISTINGS
-
For Sale Powermatic PM 701 Mortiser, 4 Powermatic Chisels (3 unused in wrapper) $800
- Started by frankc4113
- Replies: 0
-
-
-
Delta 6" Professional Jointer with Base - BNIB (Johnson City/Bristol, TN)
- Started by JSFoster75
- Replies: 0
-
