
david
-

woodworking on David Letterman
Here is an clip from the David Letterman Show that features an actor / woodworker who was pictured on the cover of FWW #222. Mr Letterman seems reasonably impressed by the work and show a couple of really nice pieces, including a cedar strip canoe.- merrill77
- Thread
- david letterman woodworking
- Replies: 3
- Forum: User Announcements
-
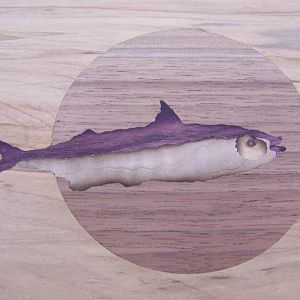
Finished Inlay
The finished product- McRabbet
- Media item
- david marks marquetry
- Comments: 0
- Album: David Marks Marquetry Class
-
Scraping to finish leveling Inlay
Cabinet scraper used to smooth the final surface.- McRabbet
- Media item
- david marks marquetry
- Comments: 0
- Album: David Marks Marquetry Class
-
Inlay ready for Scraping
Ready to remove pattern and an uneveness from inlay. Cabinet scraper is ideal for this step.- McRabbet
- Media item
- david marks marquetry
- Comments: 0
- Album: David Marks Marquetry Class
-
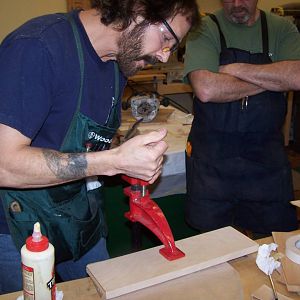
Caul Clamped to set Inlay in Place
A heavy C Clamp is used to press inlay into work piece and force excess glue out.- McRabbet
- Media item
- david marks marquetry
- Comments: 0
- Album: David Marks Marquetry Class
-
Final Gluing
Inlay is set into main work piece.- McRabbet
- Media item
- david marks marquetry
- Comments: 0
- Album: David Marks Marquetry Class
-
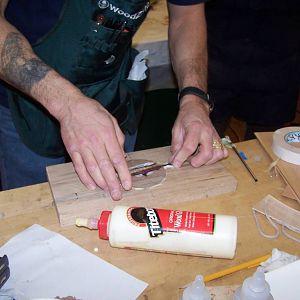
Final Gluing
Inlay piece and work piece receive a generous coating of Titebond I.- McRabbet
- Media item
- david marks marquetry
- Comments: 0
- Album: David Marks Marquetry Class
-
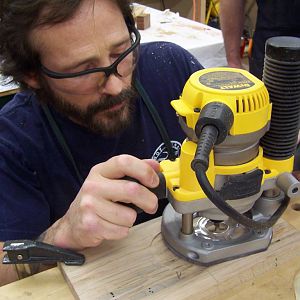
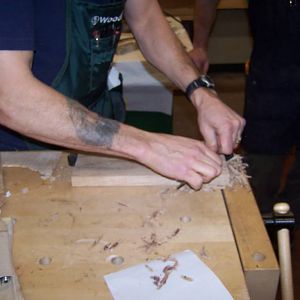
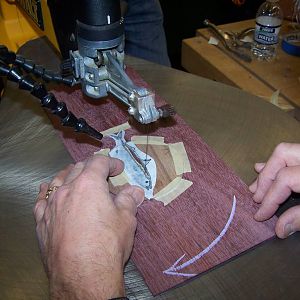
Tail Area Routed out
The tail inlay area is routed out with a 1/16" bit by hand. Bit depth is set to just under the material thickness.- McRabbet
- Media item
- david marks marquetry
- Comments: 0
- Album: David Marks Marquetry Class
-
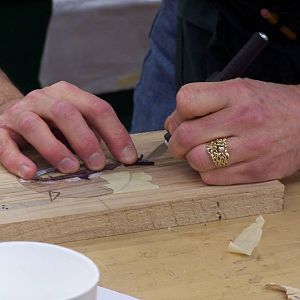
Defining the tail cutout area
A sharp Exacto knife is used to define the tail inlay area in main work piece.- McRabbet
- Media item
- david marks marquetry
- Comments: 0
- Album: David Marks Marquetry Class
-
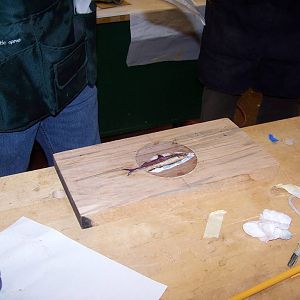
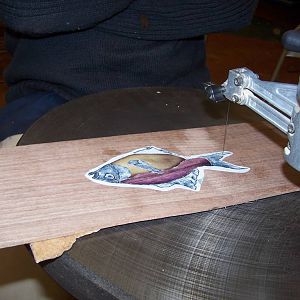
David's Inlay ''in the rough''
With all of the inlay pieces cut and shaded, it is placed in depression in preparation for tail cut outside the template area.- McRabbet
- Media item
- david marks marquetry
- Comments: 0
- Album: David Marks Marquetry Class
-
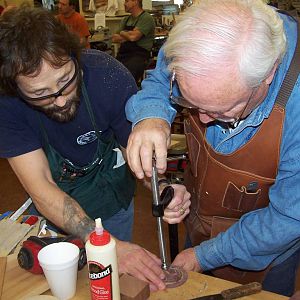
David assists Jerry
Inlay piece is clamped into field piece during glue up- McRabbet
- Media item
- david marks marquetry
- Comments: 0
- Album: David Marks Marquetry Class
-
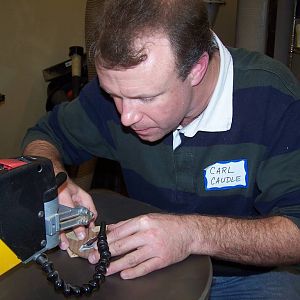
Student Carl Caudle at the Scrollsaw
- McRabbet
- Media item
- caudle david marks marquetry
- Comments: 0
- Album: David Marks Marquetry Class
-
A student piece
- McRabbet
- Media item
- david marks marquetry
- Comments: 0
- Album: David Marks Marquetry Class
-

Cutting second Inlay
David positioned nice quilted maple through a new window and proceeds to cut it out.- McRabbet
- Media item
- david marks marquetry
- Comments: 0
- Album: David Marks Marquetry Class
-
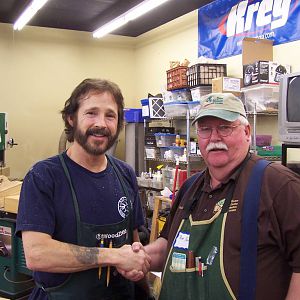
Master and Student
- McRabbet
- Media item
- david marks marquetry
- Comments: 0
- Album: David Marks Marquetry Class
-
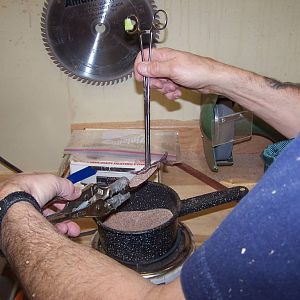
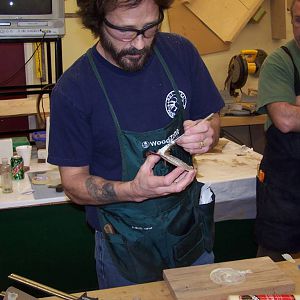
Hot Sand Shading
David dips piece into very hot sand to darken an edge of a piece.- McRabbet
- Media item
- david marks marquetry
- Comments: 0
- Album: David Marks Marquetry Class
-
Cut on the line!
Cut proceeds along pattern line (small window waste can be seen within final field).- McRabbet
- Media item
- david marks marquetry
- Comments: 0
- Album: David Marks Marquetry Class
-
First Inlay Material
After window cut and piece positioned for best grain, cut is made starting at left end and piece rotated clockwise around cutout.- McRabbet
- Media item
- david marks marquetry
- Comments: 0
- Album: David Marks Marquetry Class
-
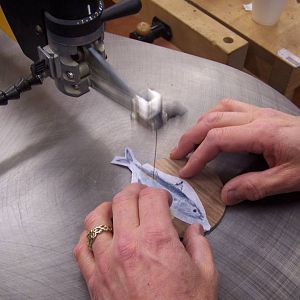
Start with a Window
A window is cut in disk inside final cutline for first inlay to allow one to see the grain of inlay material through window. Blade set to 6° and cut starts on left side.- McRabbet
- Media item
- david marks marquetry
- Comments: 0
- Album: David Marks Marquetry Class
-
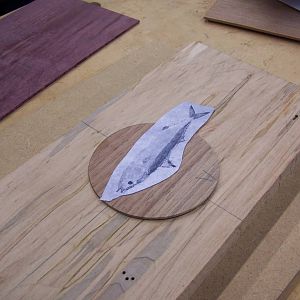
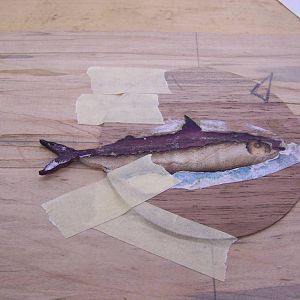
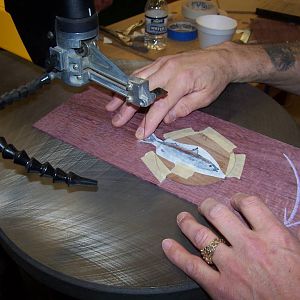
Pattern glued to Main Inlay
David chose a fish for subject -- tail will be inlaid to main workpiece last.- McRabbet
- Media item
- david marks marquetry
- Comments: 0
- Album: David Marks Marquetry Class
Premier Sponsors
Contact for your financial processing needs!
Our Sponsors
LATEST FOR SALE LISTINGS
-
 Powermatic 701 Mortiser, Like New, 3 new bits, 1 like new bit, 3 non-Powermatic bits, $550
- Started by frankc4113
- Replies: 0
-
For Sale Woodshop dust collection fittings, hose, separator, pipe
- Started by Ricardo
- Replies: 0
-
 For Sale Wood Stabilizing Setup - Vac Chamber, Vac pump, & oven
- Started by beloitdavisja
- Replies: 0
-
 For Sale Electrical supplies (Are you building a new shop?)
- Started by DSWalker
- Replies: 2
-
