Adjustable Dado/Rabbet Jig 1
Joe Scharle

Adjustable Dado/Rabbet Jig 1

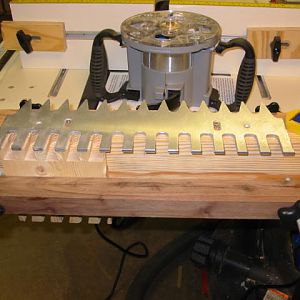
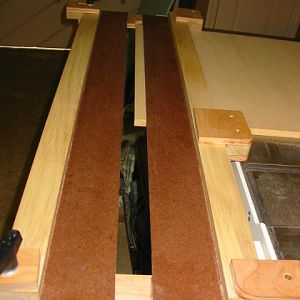
This is the handiest jig I ever built. From ShopNotes. Doesn't even care about thickness of the piece that fits in the dado/rabbet. Just squeeze the piece or sample between the guides, route 1 way and then the other. It's self clamping and the clamping doesn't change the setup, so you make multiple dados after setting the first. See it here.
[url]http://www.shopnotes.com/main/sn76-toc.html[/url]
Nice jig, I have to make something like that...someday, when I get better at this woodworking thing. Dave
 
Hello DaveO,
Just getting used to this style board and now discovered your comment. I've built a lot of jigs from magazines over the years and most were a waste of time, but I use this one a lot. You can see it at www.shopnotes.com. They have a real good video last time I looked (last spring). If you aren't concerned with beauty, you can make it in 3-4 hours.
Joe
 
So basically that is a parallel guide that uses a bearing guided straight cut router bit to cut the desired dado/rabbet. The hardboard guides the bearing. What did you use to make it adjustable, and does it stay parallel. How does it square up to the work piece. I know I can look at the plans, but I prefer to discover the form and function and then make it myself. That way if I screw something up it was meant to be like that, haha.
Dave
 
I apologize again. I didn't realize that messages could be found here. Anyway, one side of the jig is glued up as a T square. The guide on this side is set on your marks and tightened down. The other side is slotted and adjustable. The piece (or a sample) is placed between the 2 guides and the slotted side is tightened. Now the gap is exactly the size of the dado you want. The bit runs around between the guides and the router subbase is pushed against the 2 fences. The fences act as guardrails as you zip back and forth. When you build this jig, you must decide which router and bit you'll always use because the first pass (on scrap) routes the guides to their final sizes. I built a 1/2" and a 3/8", but I use the 3/8" mostly.
 

Media information

Album
Router Notes
Added by
Joe Scharle
Date added
View count
2,655
Comment count
5
Rating
0.00 star(s) 0 ratings

Share this media

Premier Sponsor

Our Sponsors

LATEST FOR SALE LISTINGS

Top