
Title – Cove Molding on a Table Saw
Been working on paneling our Reading Room over the last few months & needed about 40 feet of matching 3” crown molding made from old growth pine. Had seen a few magazine articles over the years talking about making large scale cove molding with a table saw. Finally, an opportunity to try it.
First problem to solve was: auxiliary fence angle and maximum blade height. Was able to take advantage of Fine Woodworking’s Cove Calculator for these settings.
Just input a few variables:
· Blade Diameter
· Cove Depth
· Cove Length
· Apex Offset
· Miter Gauge 90 (0 or 90)
and the proper settings are calculated in a click.
For the 3” molding, I went with a 2 ½” cove, yielding a 33 degree fence angle to the blade, and a maximum blade height of ½”.
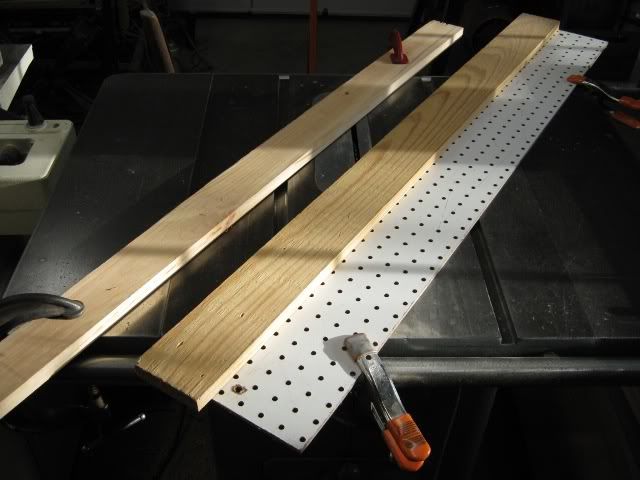
Fence setup (I ended up taking off the extra 1x4 board on the left & ran everything using only the edge guide on the right. The extra fence didn’t seem to help anything.
Prior to running the boards, let’s take a moment to talk shop safety:
1) Mark each board to ensure the same edge is run against the fence each time, in case you’re not exactly centered over the blade.
2) Begin with a blade height no more than 1/16” to prevent kickback. And, raise the blade 1/16” every run thereafter.
3) Use pushblocks. I used jointer style push blocks to keep the wood steadily in contact with the blade.
4) Go slow. The process is a slow one, but the results are worth it.
5) Be careful. No distractions. The blade is exposed during these operations & must be respected.
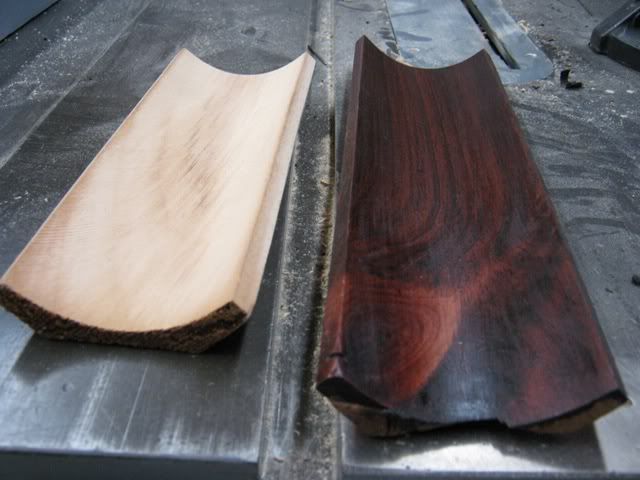
First 3” test piece:

Finished product:
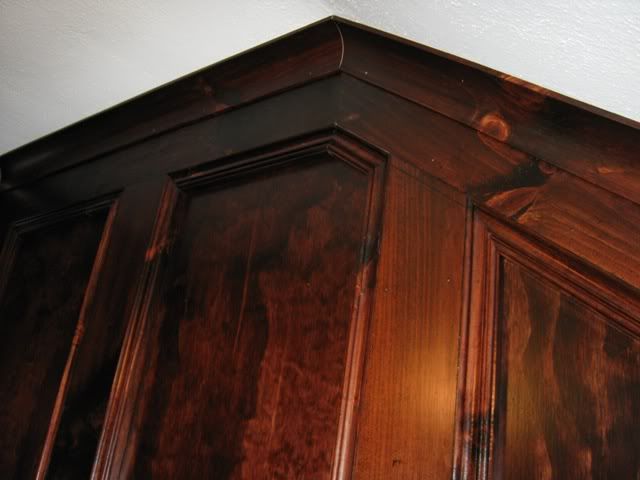
Up-close:
Installed – up close:
Link to the entire Reading Room project:
http://www.ncwoodworker.net/forums/f90/reading-room-paneling-28394/
Thanks for playing along…
Been working on paneling our Reading Room over the last few months & needed about 40 feet of matching 3” crown molding made from old growth pine. Had seen a few magazine articles over the years talking about making large scale cove molding with a table saw. Finally, an opportunity to try it.
First problem to solve was: auxiliary fence angle and maximum blade height. Was able to take advantage of Fine Woodworking’s Cove Calculator for these settings.
Just input a few variables:
· Blade Diameter
· Cove Depth
· Cove Length
· Apex Offset
· Miter Gauge 90 (0 or 90)
and the proper settings are calculated in a click.
For the 3” molding, I went with a 2 ½” cove, yielding a 33 degree fence angle to the blade, and a maximum blade height of ½”.
Fence setup (I ended up taking off the extra 1x4 board on the left & ran everything using only the edge guide on the right. The extra fence didn’t seem to help anything.
Prior to running the boards, let’s take a moment to talk shop safety:
1) Mark each board to ensure the same edge is run against the fence each time, in case you’re not exactly centered over the blade.
2) Begin with a blade height no more than 1/16” to prevent kickback. And, raise the blade 1/16” every run thereafter.
3) Use pushblocks. I used jointer style push blocks to keep the wood steadily in contact with the blade.
4) Go slow. The process is a slow one, but the results are worth it.
5) Be careful. No distractions. The blade is exposed during these operations & must be respected.
First 3” test piece:
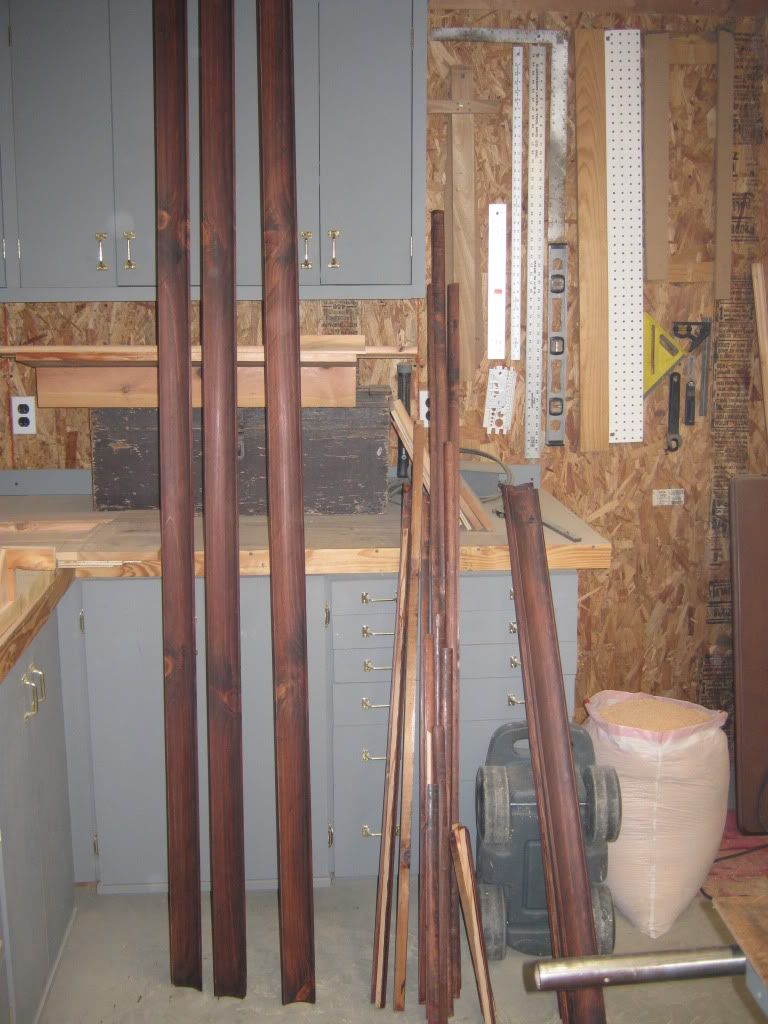
Finished product:
Up-close:
Installed – up close:
Link to the entire Reading Room project:
http://www.ncwoodworker.net/forums/f90/reading-room-paneling-28394/
Thanks for playing along…
