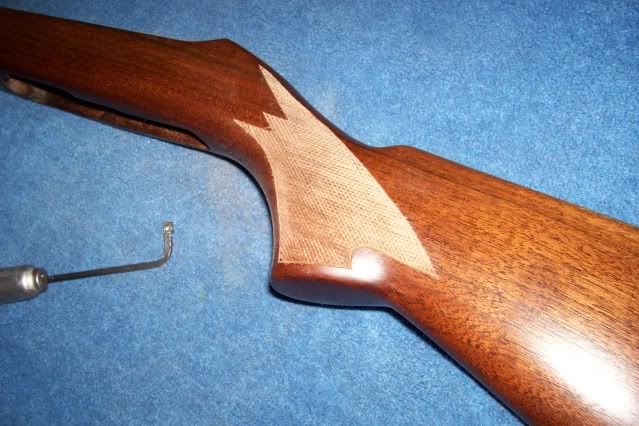
This is an AK-47 pistol grip a friend sent me to work on. Checkered 20 lpi, in a classic double diamond pattern. This is a quickie from start to finish.
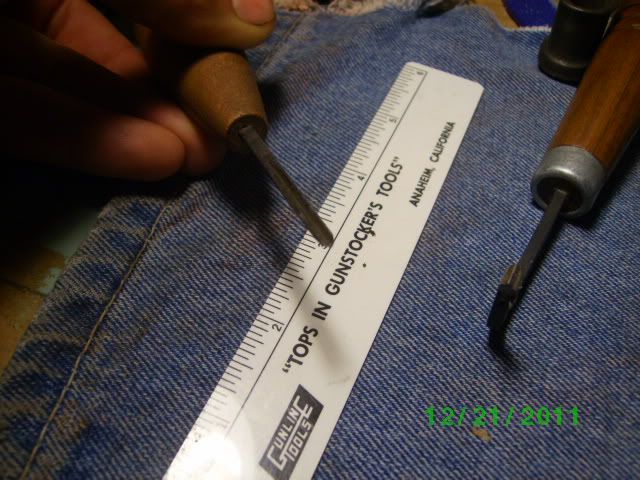
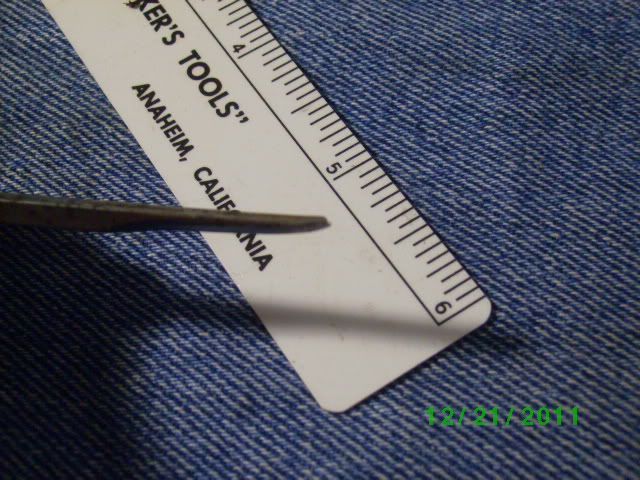
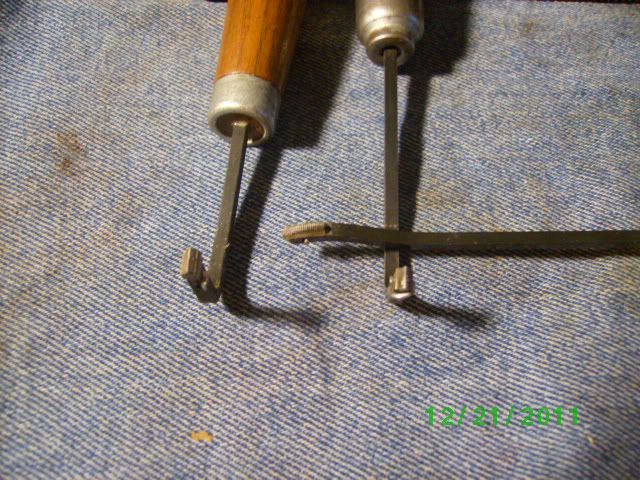
Working out the pattern:
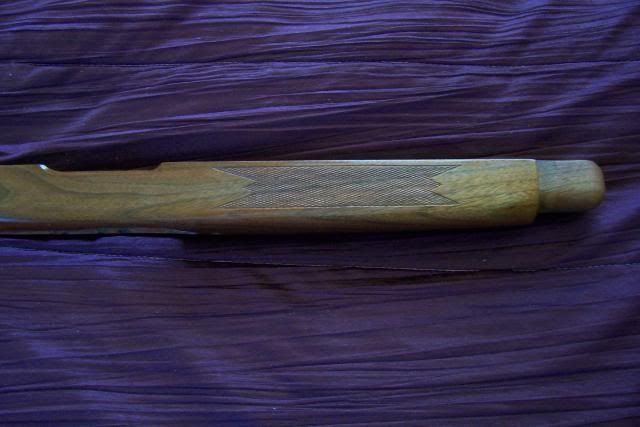
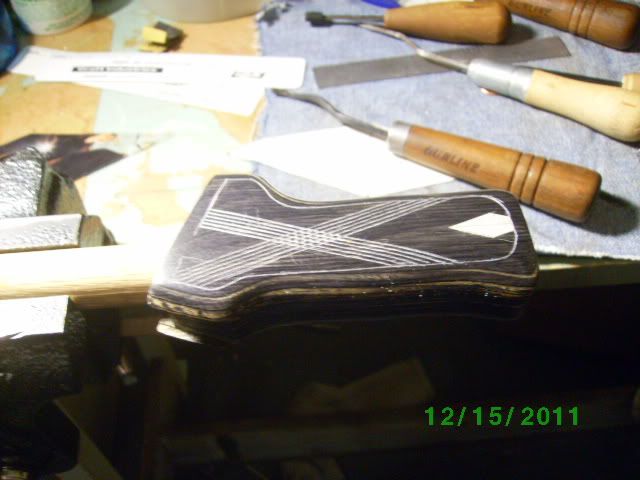
Here (yeah, it's kinda fuzzy, but you get the idea) is lightly cutting the master lines, and the border lines. The diamond at the bottom isn't cut with the hobby knife yet, as the lines tend to move and wont be where you want them to be, once the field is started. By waiting until I actually get there it comes out close enough that you cant tell it's just a smidgen off sized from the first one.
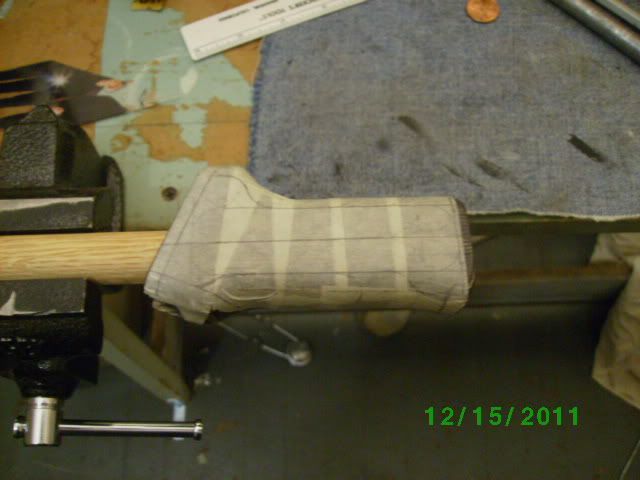
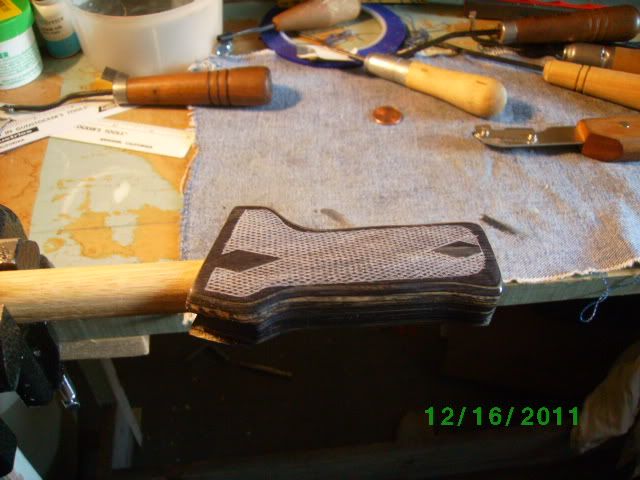
In this pic you can see that I'm off to a good start. The lines kept true to straight and a nice even 3.5"-1" diamond pattern. You can also clearly see the taped diamond at the bottom grip acting as placeholder until the lines work out to the exact placement of the diamond.
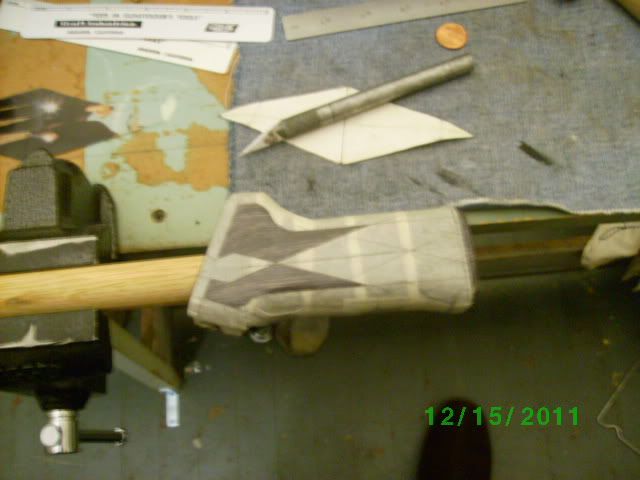
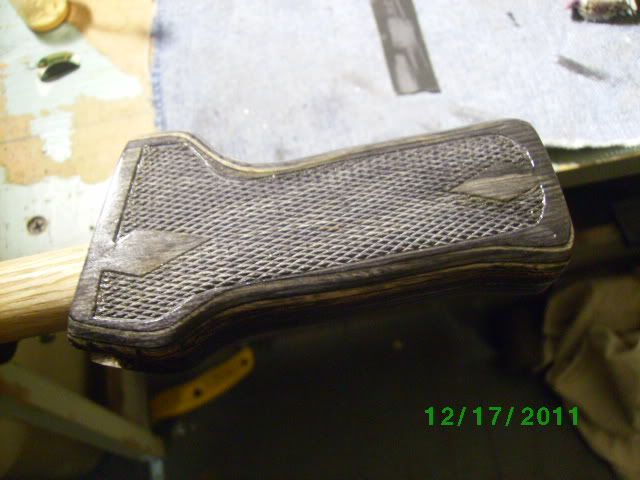
Now all the pattern is filled in, waiting to be "pointed up" (stock worker for final cutting).
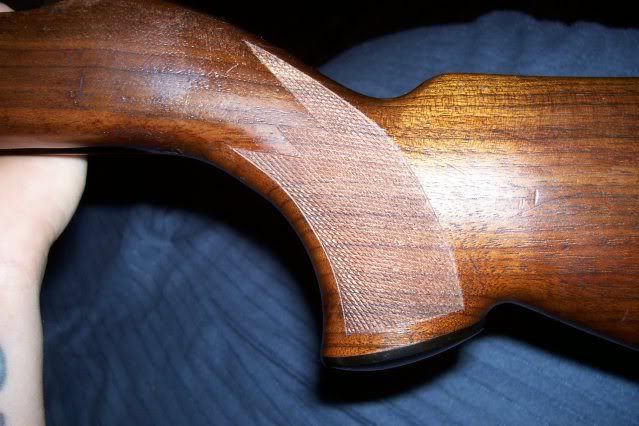
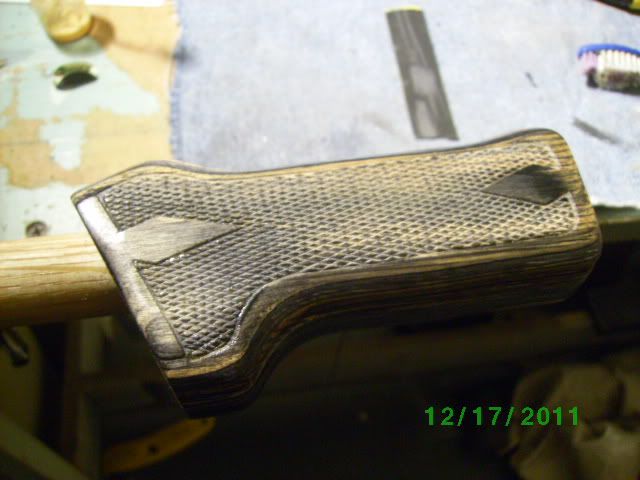
Almost finished, a couple oops's happened, so I had to erase a couple over-runs and one scratch. This is with a first finish coat of Tru-oil mixed 50-50 with mineral spirits and applied with a wore-out toothbrush. The over-runs and scratch were patched and blended with a mix of Tru-oil and Armor All, and hand rubbed. It'll take 4 or 5 applications to fix those. The checkering gets two light coats of the thinned version, using a brass wire brush between the two coats.
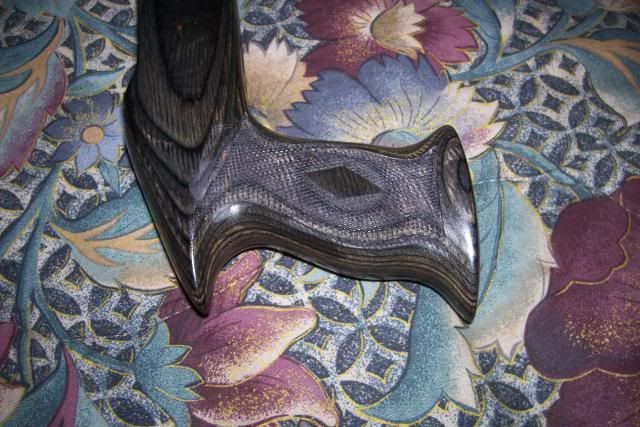
the other side, after completion.
I'm hoping to do a more in depth thread some time in the future. I'm wanting to show more of the how to. I'm just waiting on nice hunk of walnut to get here to work on. These laminants are real tricky to photograph and show any detail.
Working out the pattern:
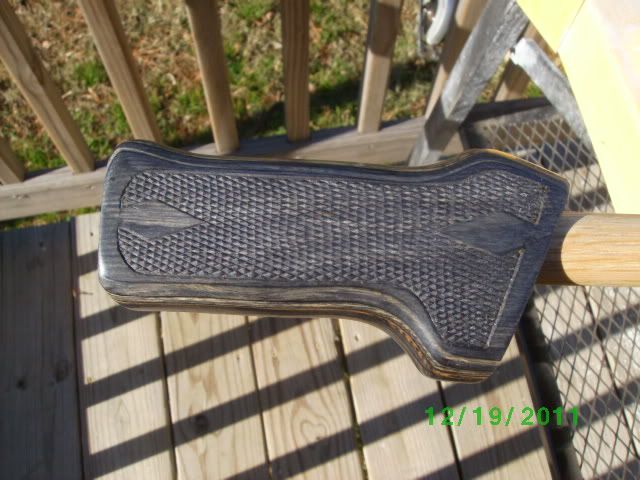
Here (yeah, it's kinda fuzzy, but you get the idea) is lightly cutting the master lines, and the border lines. The diamond at the bottom isn't cut with the hobby knife yet, as the lines tend to move and wont be where you want them to be, once the field is started. By waiting until I actually get there it comes out close enough that you cant tell it's just a smidgen off sized from the first one.
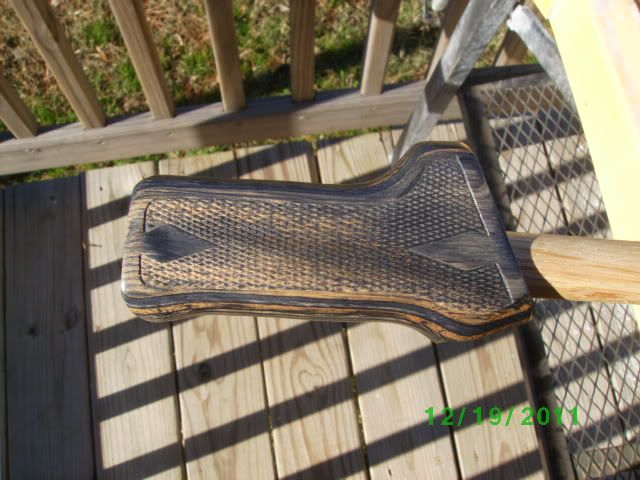
In this pic you can see that I'm off to a good start. The lines kept true to straight and a nice even 3.5"-1" diamond pattern. You can also clearly see the taped diamond at the bottom grip acting as placeholder until the lines work out to the exact placement of the diamond.
Now all the pattern is filled in, waiting to be "pointed up" (stock worker for final cutting).
Almost finished, a couple oops's happened, so I had to erase a couple over-runs and one scratch. This is with a first finish coat of Tru-oil mixed 50-50 with mineral spirits and applied with a wore-out toothbrush. The over-runs and scratch were patched and blended with a mix of Tru-oil and Armor All, and hand rubbed. It'll take 4 or 5 applications to fix those. The checkering gets two light coats of the thinned version, using a brass wire brush between the two coats.
the other side, after completion.
I'm hoping to do a more in depth thread some time in the future. I'm wanting to show more of the how to. I'm just waiting on nice hunk of walnut to get here to work on. These laminants are real tricky to photograph and show any detail.