Starting new Hand Plane for Oct 22nd Hand Plane Seminar

Status
Not open for further replies.

rcflyer23

Kevin
Corporate Member
Since I am bringing two small planes to the seminar I thought I might just make a bigger one for it as well. I'm dong this one a little differently.

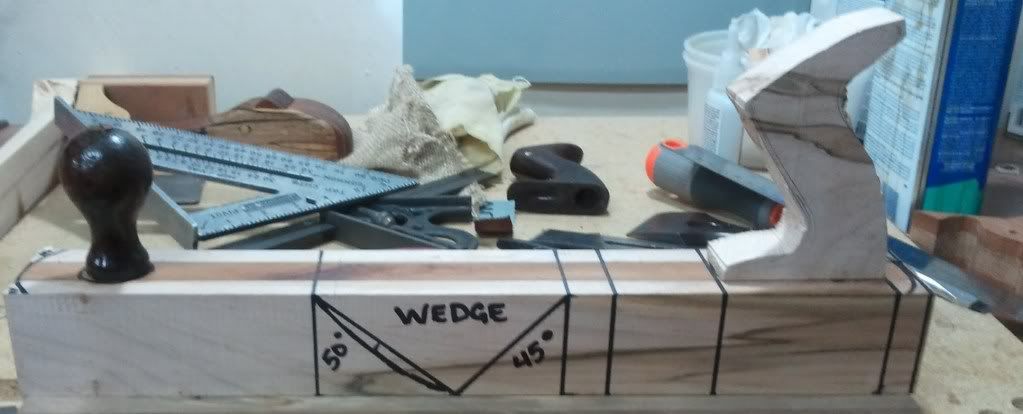
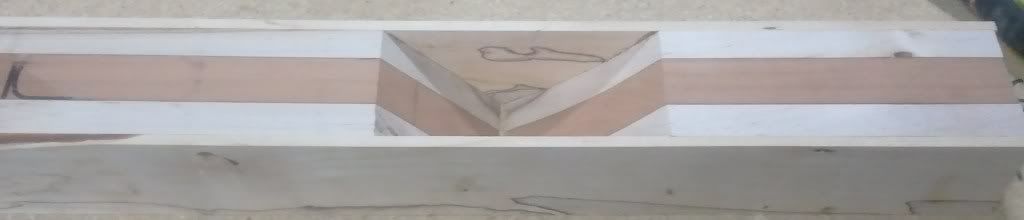
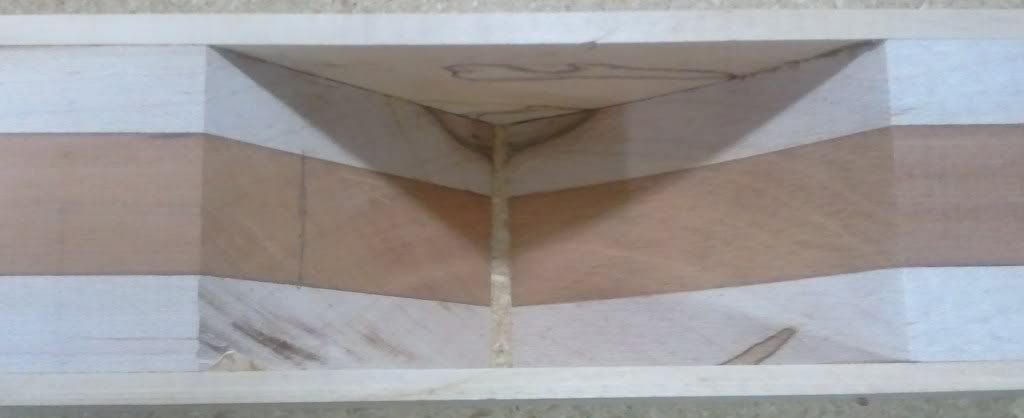
Basically the bed angle is staying the same but the front angle will be 50 degrees and I'm going to put a radius on that angle as well. A few things that I have read say that it helps the shavings push through easier. Alot of people will use 60 degrees but I didn't like the way it was going to work on this plane.

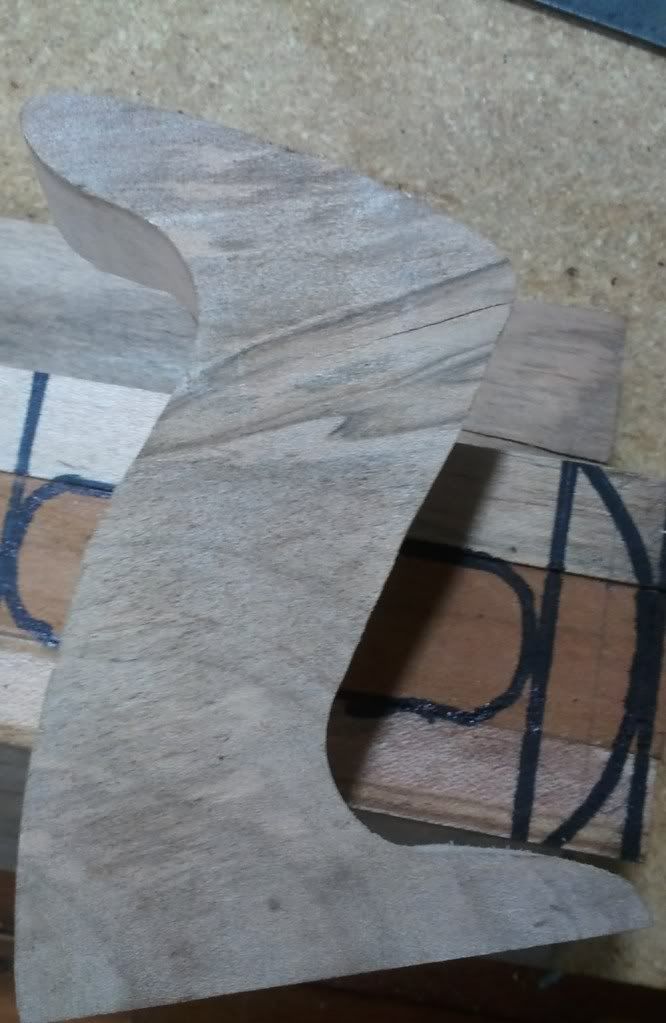
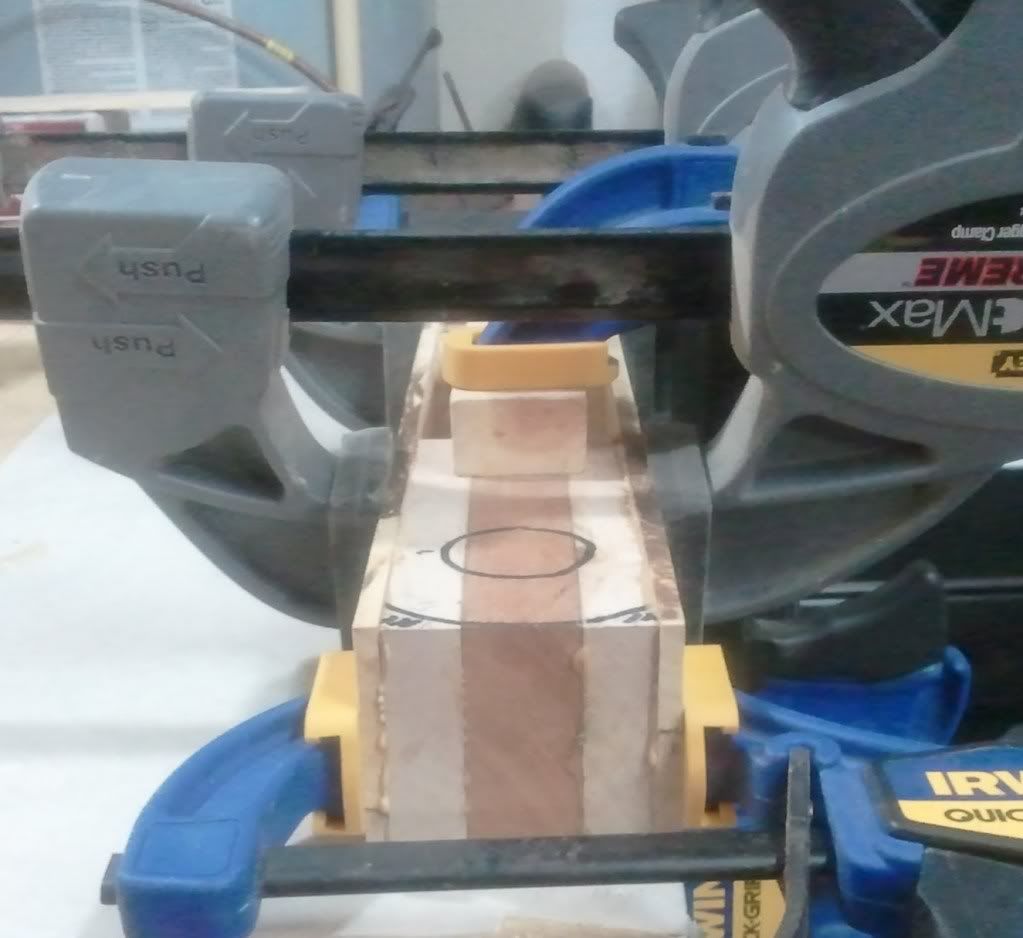
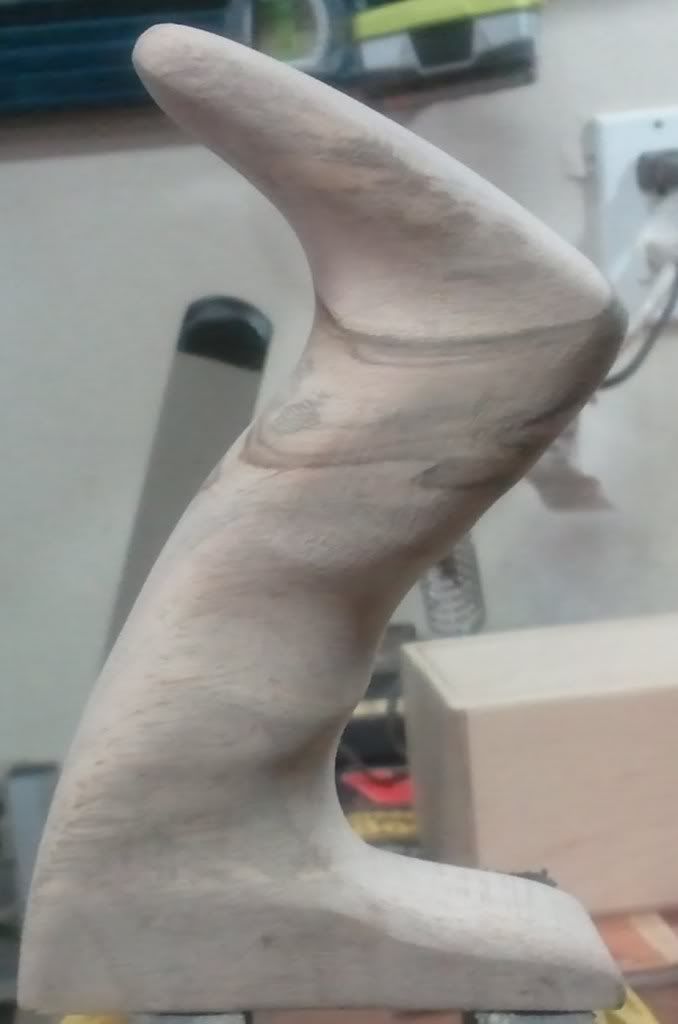
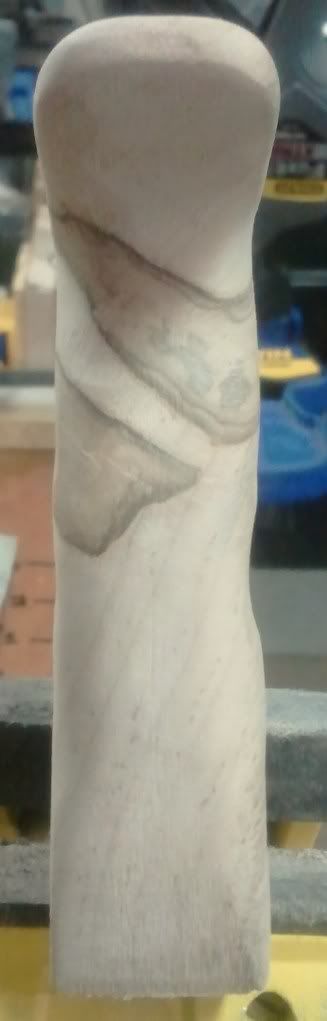
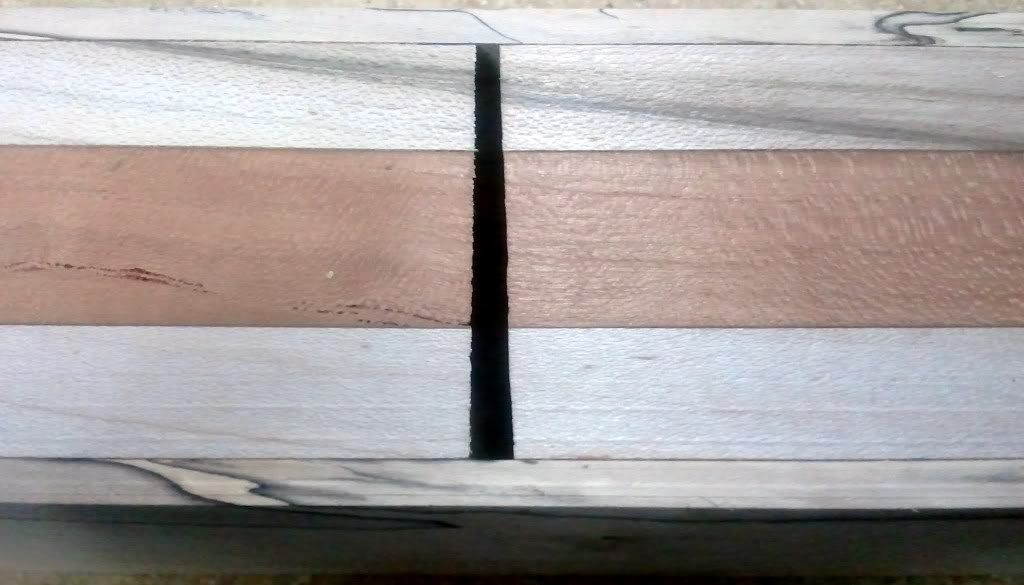
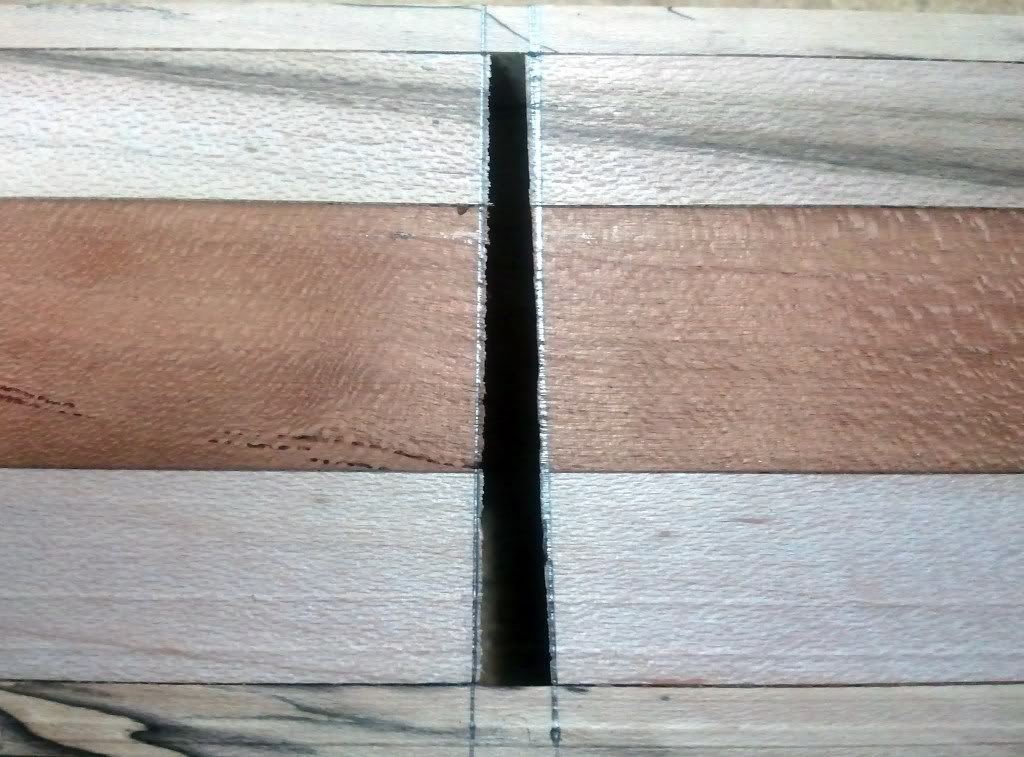
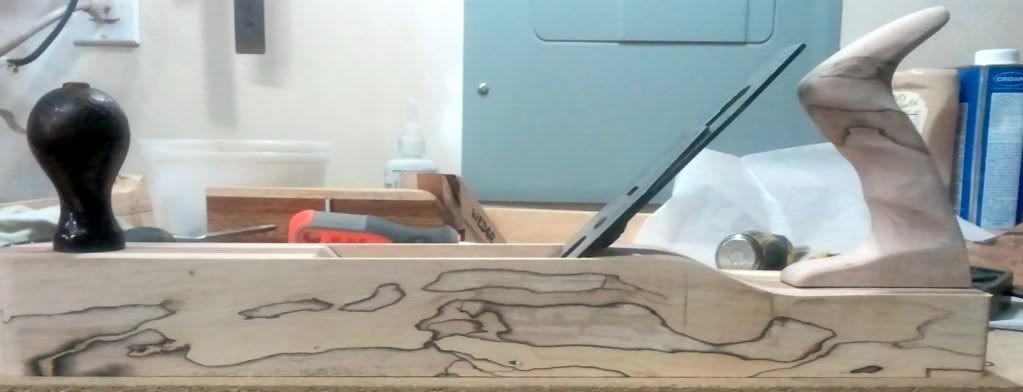
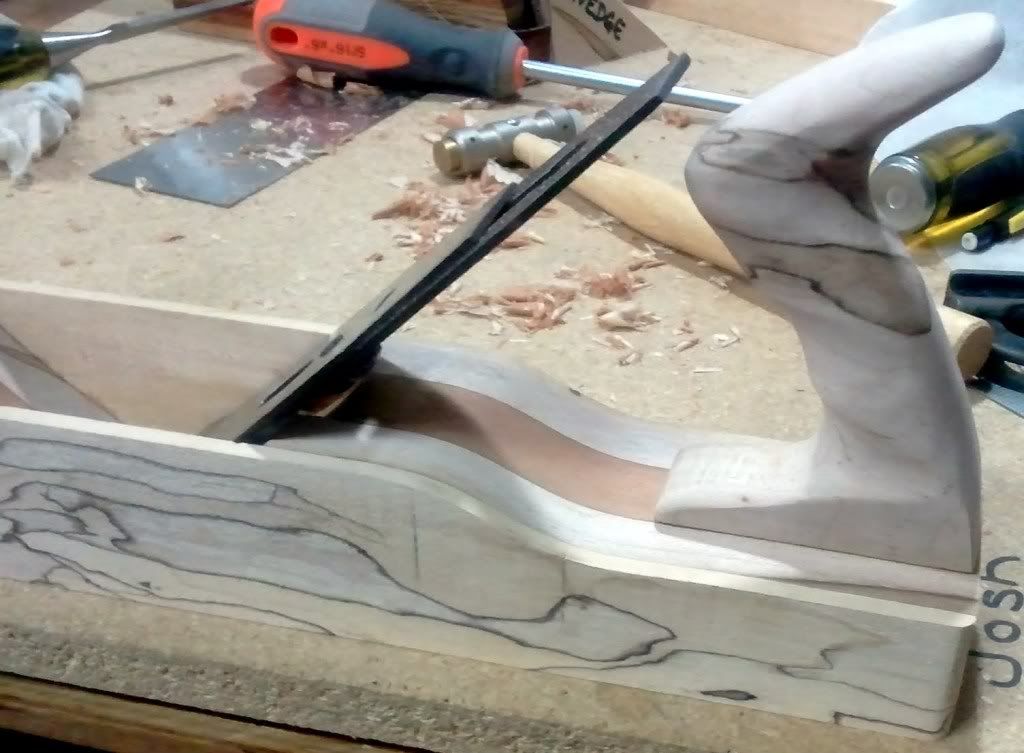
Here are a couple of shots of the layout of the plane.


This is the side you can see the general layout of the plane from here.
2011-08-30_18_33_57.jpg

View image in gallery


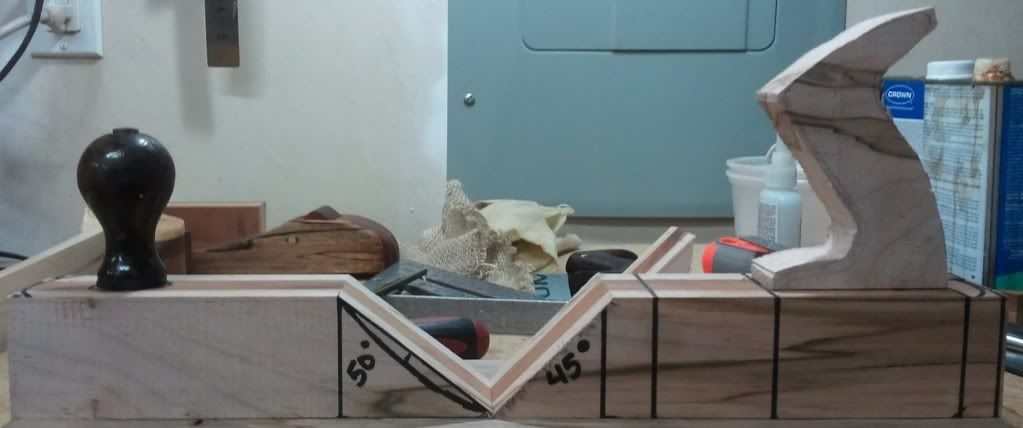
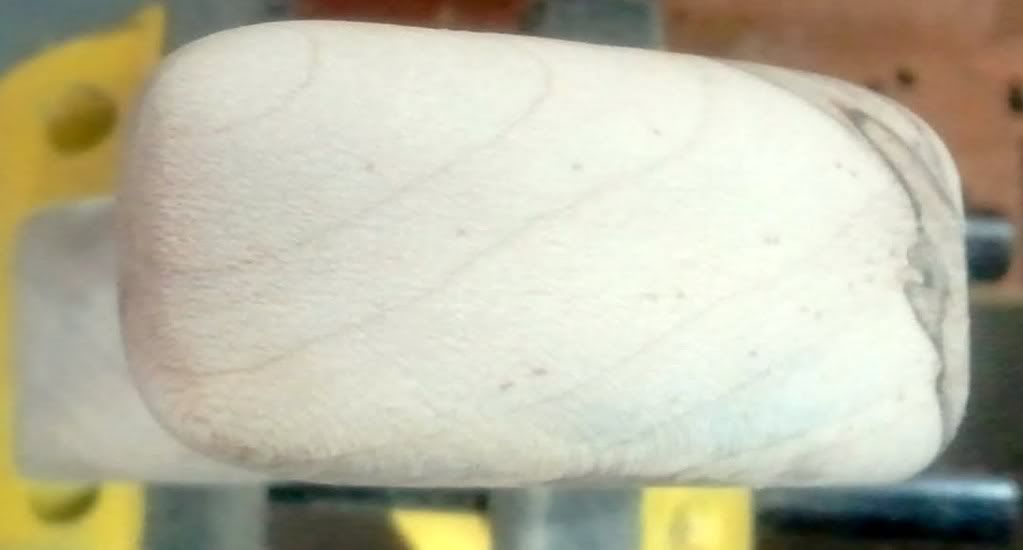
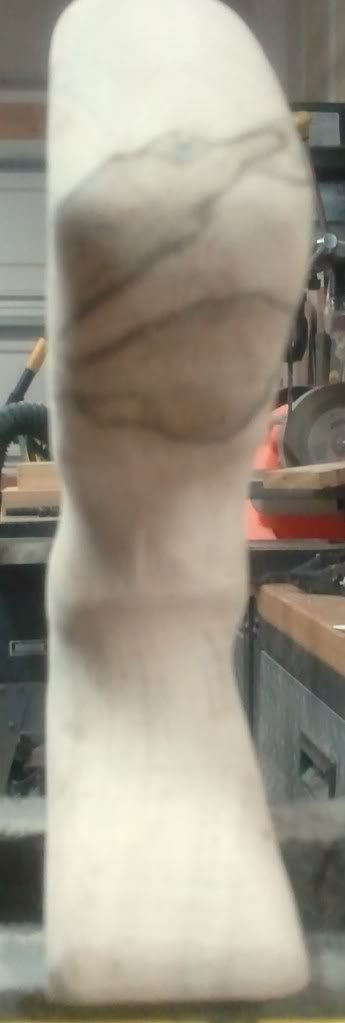
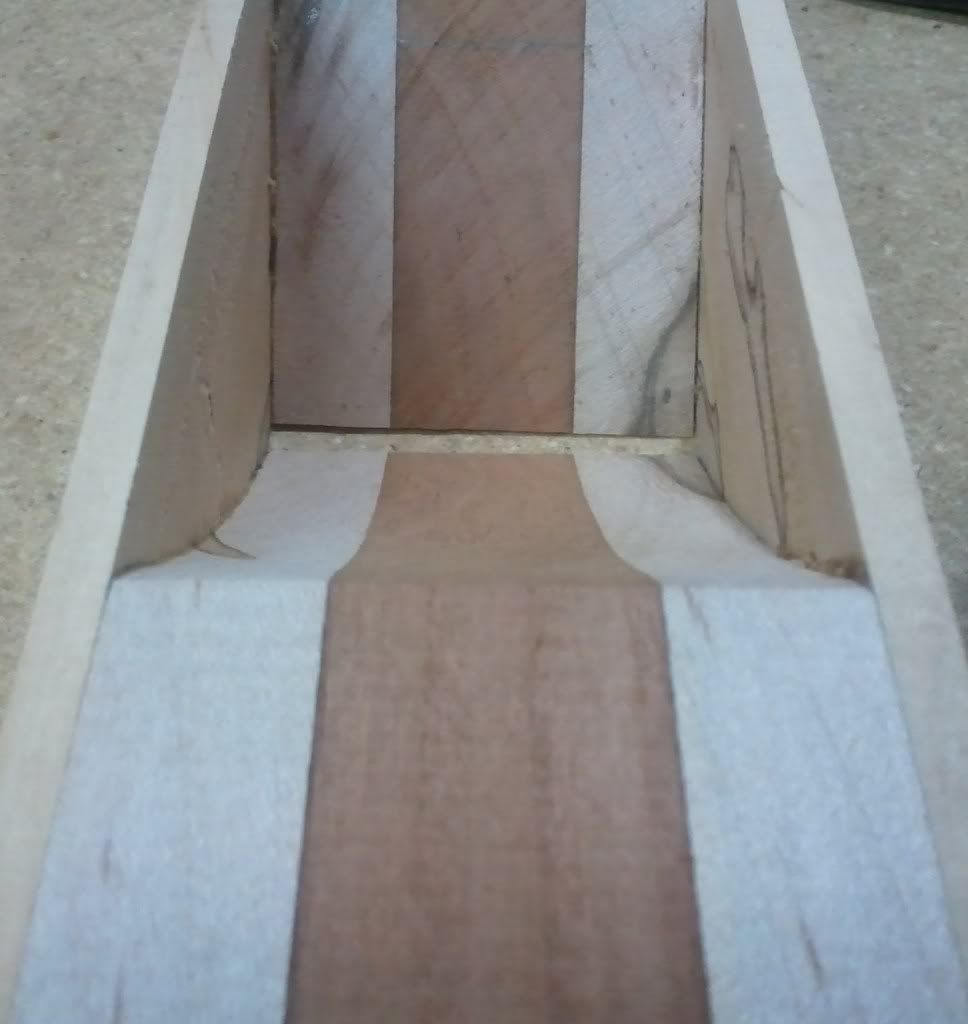
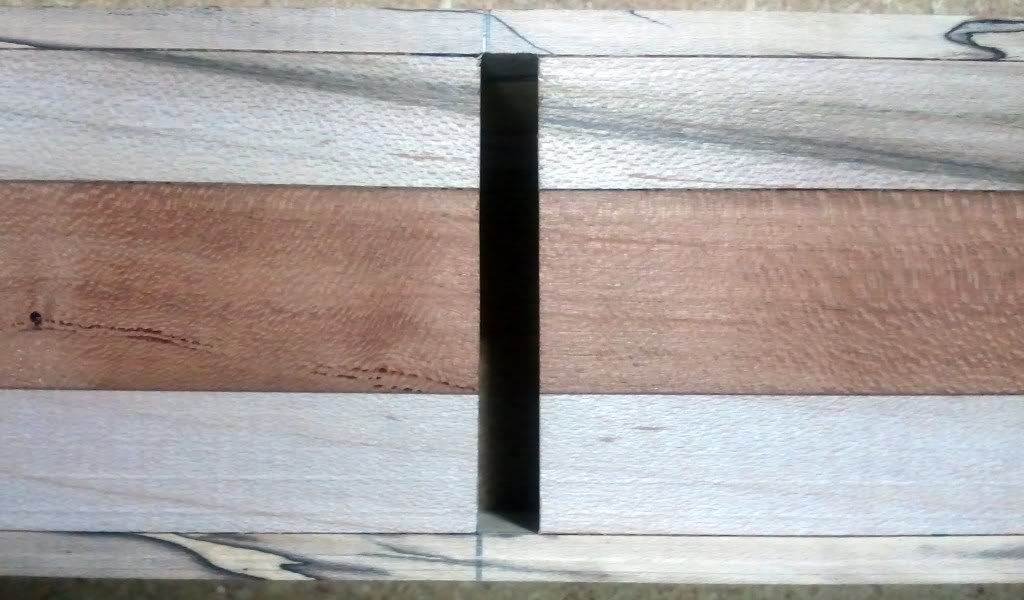
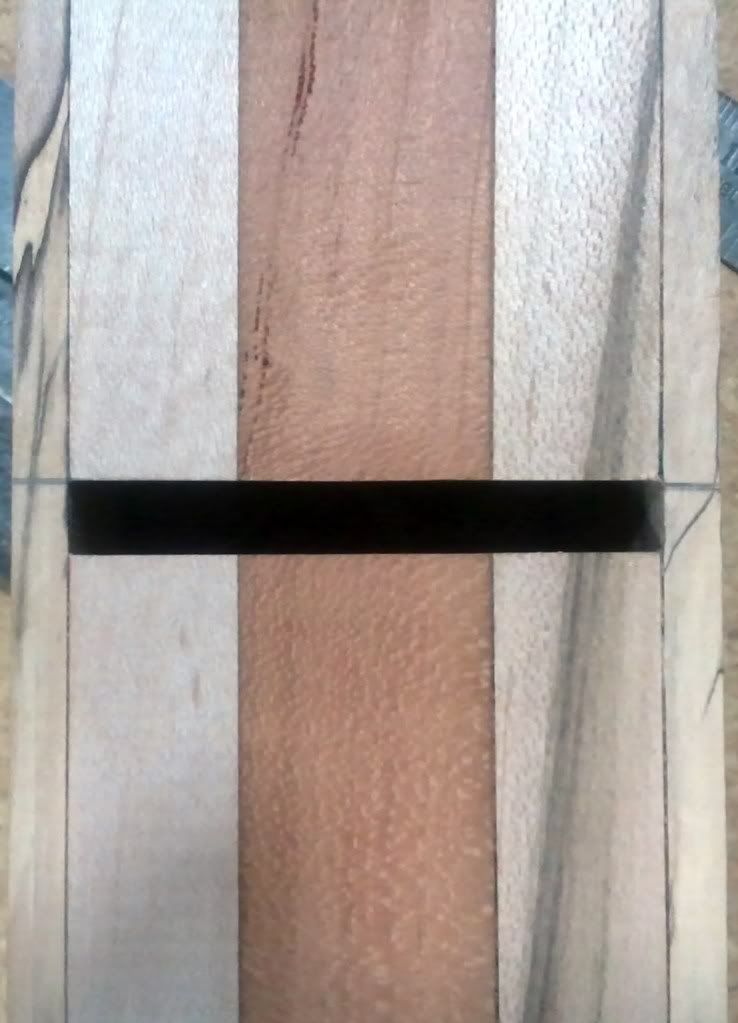
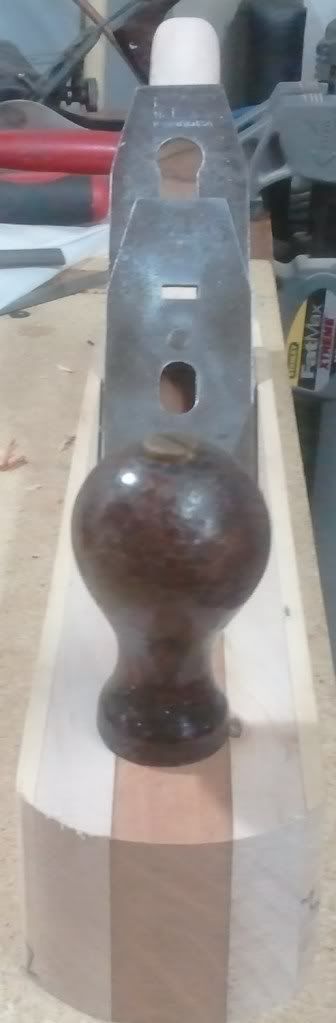
Here is a top view, I am thinking i am going to put a tote on this one and see how that works out, not 100% on that yet.


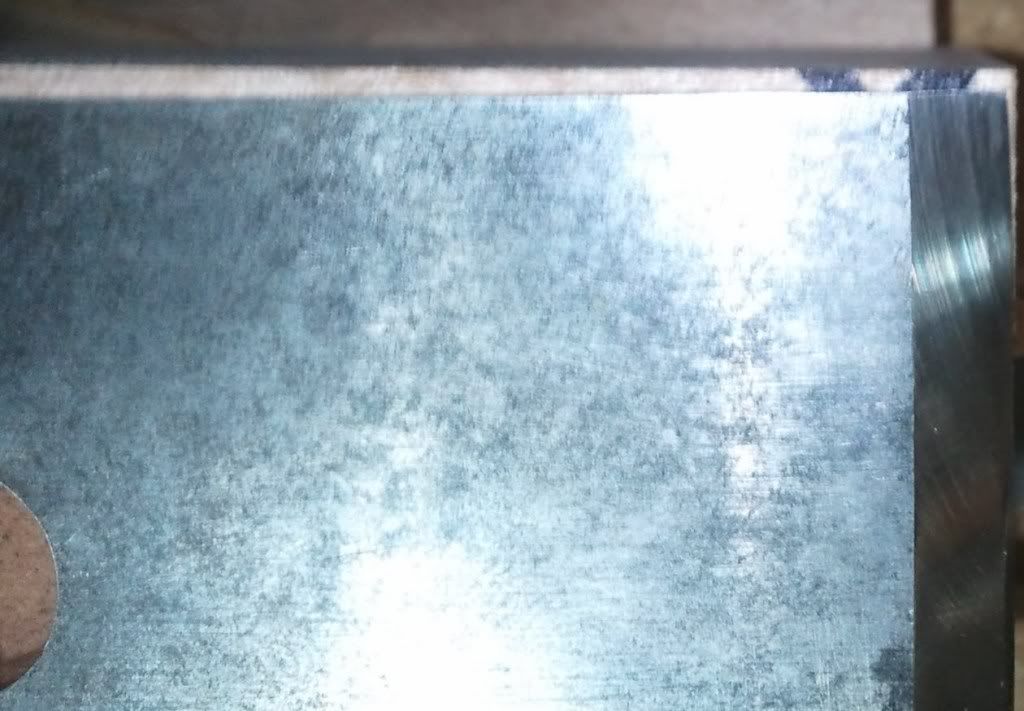
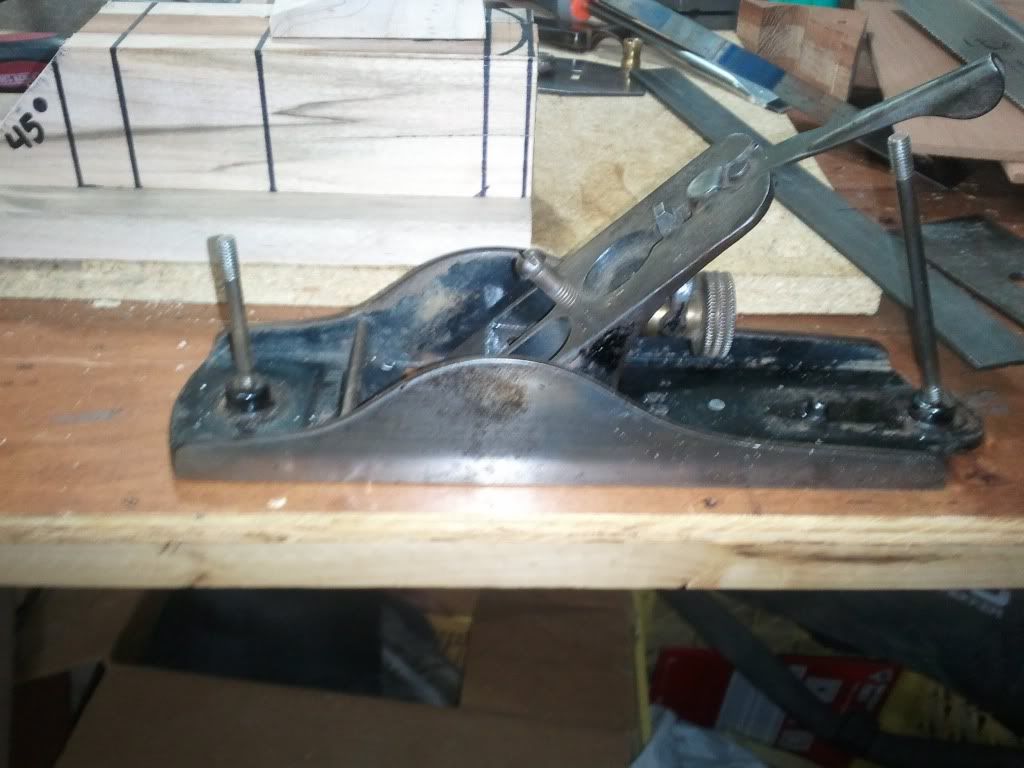
Mike Davis just so you know I'm building this around an old sargent iron and chip breaker that I got from a flea market. Mixing the two worlds. :)
 

Mike Davis

Mike
Corporate Member
That's cool, I often mix the flea market with my shop. Or is my shop a flea market? Hey wait! I'm confused... :rotflm:
 

Bill Clemmons

Bill
Corporate Member
Kevin, about this time next year we'll be announcing the plane making class to be conducted by YOU! You're becoming pretty proficient at this. :notworthy: The shop is always available anytime you want to do a class. :icon_thum

Bill

PS: I like your new avatar / logo. Are you putting that on your planes?
 

rcflyer23

Kevin
Corporate Member
That's cool, I often mix the flea market with my shop. Or is my shop a flea market? Hey wait! I'm confused... :rotflm:

I'm confused as well. I love going to the flea markets and looking for old tools. I found a great old square last year.

Kevin, about this time next year we'll be announcing the plane making class to be conducted by YOU! You're becoming pretty proficient at this. :notworthy: The shop is always available anytime you want to do a class. :icon_thum

Bill

PS: I like your new avatar / logo. Are you putting that on your planes?

Bill,

I can see that happening in the future for sure. Once I have 10 or so under my belt I think I could handle teaching a class. I will keep that in mind for down the road. Thanks for the compliment on the avatar. I'm trying to figure out a good way to do put that on the planes. I don't put any clear coat on them so I'm not sure how I could affix a sticker to it and have it wear very well. If I could get a custom branding iron I would probably do it that way. I'm going to build some boxes for the two I have now and I'm going to put that logo on the box. I would really like to turn it into a sign one day but I don't have the carving skills to handle that. :gar-Bi
 

Mike Davis

Mike
Corporate Member
Contact Rick Doby. He makes photoengraved copper plates for printing. He made some small rounds with my name that looked great. You can screw them onto the wood or inlay them. The plate will look just like your logo and age to a nice patina just like a real copper penny.
 

rcflyer23

Kevin
Corporate Member
That's cool, I often mix the flea market with my shop. Or is my shop a flea market? Hey wait! I'm confused... :rotflm:

Kevin, about this time next year we'll be announcing the plane making class to be conducted by YOU! You're becoming pretty proficient at this. :notworthy: The shop is always available anytime you want to do a class. :icon_thum

Bill

PS: I like your new avatar / logo. Are you putting that on your planes?

Contact Rick Doby. He makes photoengraved copper plates for printing. He made some small rounds with my name that looked great. You can screw them onto the wood or inlay them. The plate will look just like your logo and age to a nice patina just like a real copper penny.

Sweet. I will have to get in touch with him. I would love to have some of those to put on the planes. Thanks Mike...
 

rcflyer23

Kevin
Corporate Member
Okay so I was able to work on the plane some more tonight.

I cut the tote out and started shaping it. I still have a ways to go. I cut the two beds and have my wedge blank and need to come up with a shape for the wedge not sure what I'll do there. I jointed the bottom of the plane so it is pretty flat at this point. I couldn't see any light behind the straight edge :gar-Bi

At this point I need to cut out my cheeks. There are two ways of doing this you can cut them from the solid blank on a band saw or table saw or you can make them out of a contrasting wood. I think I am going to do it out of the contrasting wood. I haven't decided yet what I want to do it out of. I still have some curly maple that I might cut up or if I can find some walnut for CHEAP I might do that. The options are endless.

Okay so anyway, here are the pics from tonight's session

Here I have my tote blank on the plane blank trying to see if I like it. So far I do. Thankfully I can wait up until almost the last minute to decide.

2011-08-302520204837.jpg


I forgot to mention that I used the jointer take off even shavings on each side to leave about a 32nd of an inch for the plane iron.

2011-08-302520204931.jpg


Here she is with the beds cut out.

2011-08-302520211913.jpg


Here is my donor for the project. I think I paid $10 for this one. It cuts like a champ. It needs a little tuning but has been used on a few projects.

2011-08-302520211945.jpg


Here is a progession of the tote from the blank to almost complete

2011-08-302520212942.jpg


2011-08-302520214625.jpg


I'm trying to get a little bit of a groove in it for my last two fingers to rest in. Not sure if I will like it or not but atleast I can sand it out if I don't.

2011-08-302520220115.jpg


Hope this is interesting to some of you. I find them a blast to build and tune.

Unfortunately its going to be friday before I can work on it again. But I plan on putting the radius on the front bed and figuring out what cheek wood I am going to use.
 

CatButler

New User
Bryan
Looks good. I have made a dedicated shooting plane. I made the blade for it myself out of 1/4" 01 tool steel, hardened and tempered myself. It's so rigid, it doesn't need a chip breaker.

I was fighting some crazy grain on a fir 2x4 that needed to be planed down a bit the other day. It was giving my Stanley's fits but this took a nice thick shaving and didn't bog down a bit. It reminded me I have a nice piece of hard maple that I want to make a true jointer with.
 

Bill Clemmons

Bill
Corporate Member
Kevin, this is definitely interesting. Please keep posting your progress pics. Someday (years from now :gar-Bi) I'd like to get around to making a few nice tools.

As you cannibalize those old planes don't throw the scraps away. Bring them to the hand plane workshop. Someone else may need a part or two. :icon_thum

Bill
 

rcflyer23

Kevin
Corporate Member
Kevin, this is definitely interesting. Please keep posting your progress pics. Someday (years from now :gar-Bi) I'd like to get around to making a few nice tools.

As you cannibalize those old planes don't throw the scraps away. Bring them to the hand plane workshop. Someone else may need a part or two. :icon_thum

Bill

Thanks,

Yeah I will be bringing this donor as well as my other flea market plane, it's a no name.

Well I I end up doing a class next year you can build one then. They don't take long. :wsmile:
 

rcflyer23

Kevin
Corporate Member
So my plans at work changed and I was able work on the plane tonight. I got the cheeks cut out. I ended up going with the spalted maple to keep in line with the Tote. I was able to shape the tote a little more as well.

The body is gluing up and I'll do some final shaping once it's all dried up.


Here is sort of what she is going to look like

2011-09-012520204706.jpg


Clamps and More Clamps

2011-09-012520212237.jpg


2011-09-012520212335.jpg


Here is the tote. I've started fine tuning the shape. I really like the fact that I can customize this to my hand. Obviously if I was going to build this for someone else I would probably just go with a standard style tote.

2011-09-012520214252.jpg


2011-09-012520214315.jpg


2011-09-012520214324.jpg


2011-09-012520214335.jpg
 

Bill Clemmons

Bill
Corporate Member
Good choice going w/ the spalted maple for the sides: it lines up nicely w/ the tote. But what about the knob? Are you still going to use that one (looks like Rosewood) or make one out of spalted maple?

How are you getting your pics to upload? Everyone else is getting an upload error 500 message.:dontknow:

Bill
 

rcflyer23

Kevin
Corporate Member
Good choice going w/ the spalted maple for the sides: it lines up nicely w/ the tote. But what about the knob? Are you still going to use that one (looks like Rosewood) or make one out of spalted maple?

How are you getting your pics to upload? Everyone else is getting an upload error 500 message.:dontknow:

Bill

Thanks.. Yeah I think it's going to look good. I was initially going to do a slight slope and drop on the back of the plane but I might have to rethink that with the grain on the maple. Just going to have to see what it looks like after it's all jointed again.

As far as the Pics, I am uploading my files to PhotoBucket and then linking over to them. It's a little more work basically just flipping between sites to get my links, but it also makes them available for my blog.

As far as the front knob. I am going to take some of my remaining spalted maple and glue up a knob blank and attempt to turn it on the lathe. I might laminate some other species in there as well just for fun. I might have to start looking for some exotic off cuts for cheeks to really spice on the next few. I've got some walnut burl but it was not long enough for this plane. It might find itself on another block plane however. :)

The one thing I should have done on the tote is drilled the hole for the screw first but, I'm thinking that I can just use some dowels on the bottom and glue it in and if I ever had to replace it I could just drill out the holes. Next tote I will pre-drill the blank. :)
 

rcflyer23

Kevin
Corporate Member
I got to spend a little more time in the shop tonight and worked on the plane some more. I got the basic shape cut out, I realized today that I didn't route the channel for the chip breaker screw so out came the chisels and I cut one by hand. OLD SCHOOL. :)

I Jointed the bottom of the plane to open the mouth up. You will see in the pictures the progress of the mouth opening.

This is just about after I took it out of the clamps

2011-09-022520211334.jpg


this is what it looks like after a few passes on the Jointer

2011-09-022520211342.jpg


Here you can see the curve that added to the front bed to allow for the chips to escape easier

2011-09-022520211405.jpg


The Bottom side after the mouth is being opened. That's not very square if you ask be. :)

2011-09-022520211447.jpg


A close up

2011-09-022520211459.jpg


I then draw some reference lines with my square and start chiseling away.

2011-09-022520211650.jpg


Now were starting to get there

2011-09-022520214100.jpg


Looks pretty good to me. Again after its all together and I give it a try I may need to open it up some more but it's so much easier to take wood away then to add it back.

2011-09-022520214109.jpg


Rough shape I'm thinking about thinning down the front as well

2011-09-022520221036.jpg


Here is the back of the plane with the tote in it's possible home. I've got to really think about this. The iron sticks out a little further that I was expecting so it end up being a pretty tight fit for me.

2011-09-022520221044.jpg


Front shot :)

2011-09-022520221100.jpg
 

Mike Davis

Mike
Corporate Member
I think you should turn a low know from the same wood as the body and the tote. That rosewood high know really looks out of place there.

If you don't have a lathe I'll help. You can come here or I'll turn for you.
 

Bill Clemmons

Bill
Corporate Member
I think you should turn a low know from the same wood as the body and the tote. That rosewood high know really looks out of place there.

If you don't have a lathe I'll help. You can come here or I'll turn for you.

+1. That tall, dark Rosewood knob just looks out of place. Or maybe even a Norris style knob, like this one. Just a thought. And remember, all this free advice is worth every penny you're paying for it. :gar-La; I'm really looking forward to seeing (and trying) some of your planes when you come in Oct.

Bill
 

rcflyer23

Kevin
Corporate Member
I think you should turn a low know from the same wood as the body and the tote. That rosewood high know really looks out of place there.

If you don't have a lathe I'll help. You can come here or I'll turn for you.

I agree the more I look at it the more I don't like the size. I think I will do something similar to like a block plane knob or even leave it off all together and just use the front of the plane.
 
Status
Not open for further replies.

Premier Sponsor

Our Sponsors

Top