Barbara,
Removing the drop-in range:
Simply slide it forward. The entire range is supported by the countertop... no screws or clips. Gravity holds it in place.
You should be able to slide it forward and gently lower it to a protected floor... then you will have access to the electrical.
Once the range is disconnected from the J-box (electrical will be hard wired), move it away from the base section of cabinetry (drop-in panel).
I'd take a sawzall and cut about 2 inches from the left and right face frame joints to decrease the tension between flanking cabinets. Typically, the face frames on the flanking cabinets are drilled and screws run through and into the drop-in panel. It should be a simple matter of removing two screws on either side of the drop-in panel through the flanking cabinets and pulling the drop-in panel free. Sometimes there is a cleat behind the drop-in panel which is screwed from behind the flanking cabinet face frame so check both locations for screws. There should be a cleat that fastens the toe kick portion of the drop-in panel to the floor or the flanking cabinets (you'll have access to those from behind the panel once the range is out of the cabinets). Usually there is not a supporting frame under the range, so once the drop-in panel is removed you are good to start checking your measurements for installing the slide-in range.
The measurement between flanking cabinets should be 30" at the frame and 30" across the countertop opening (the countertop opening may need to be recut per installation instructions provided with the new range). I wouldn't attempt to remove your existing countertops to make any cuts. Remember that the slide-in range lips over the countertop like your old drop-in did so the the cut doesn't have to be magnificent. You should be able to do it with a jigsaw.... masking tape the counter where you plan to cut. (I'm assuming you have laminate counters).
Electrical:
Determine the amperage of the old circuit and the requirement of the new range. If it is the same, simply remove the j-box and locate a new 4 wire recptacle on the floor. You can wire a 4 wire range into a three wire receptacle if need be. There should be a wiring diagram included in the new range specifications for 3 and 4 wire applications. As an option, you can extend the wire from the existing j-box to the new receptacle if the j-box doesn't interfere with sliding the new range into place.
If the new electrical requirement is greater, then you will have to pull a new 4 conductor line of the appropriate gauge for the amperage requirement.
Hope this helps... I'm a general contractor with 30 years designing and installing kitchens and baths.
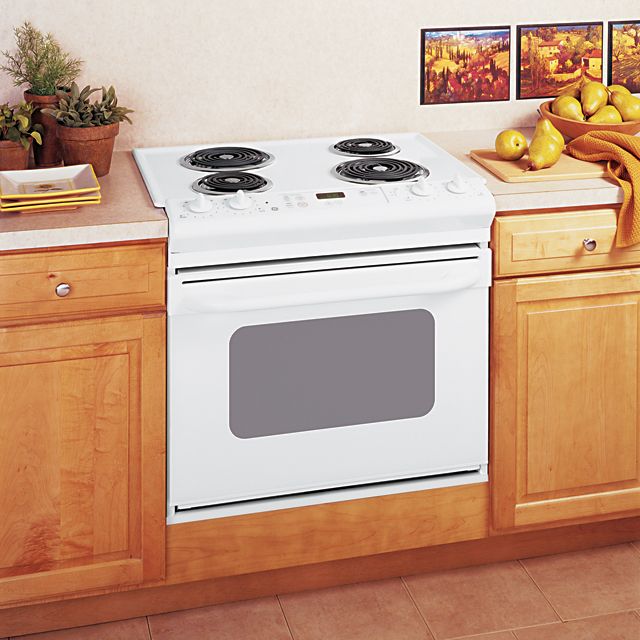
Drop-In Range
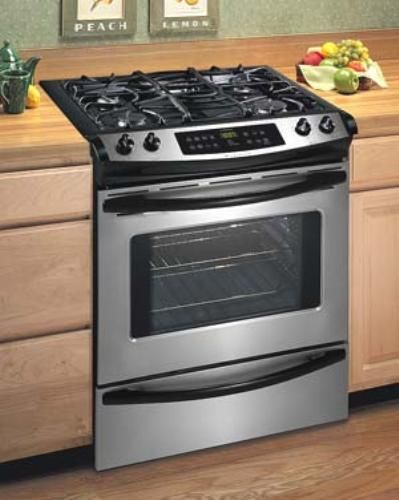
Slide-In Range

") . I'm going tomorrow.
. I'm going tomorrow.