This kitchen island from ikea has followed my wife and I for over 5 years. It's served its purpose, but it has been less than ideal and we needed more counter space.
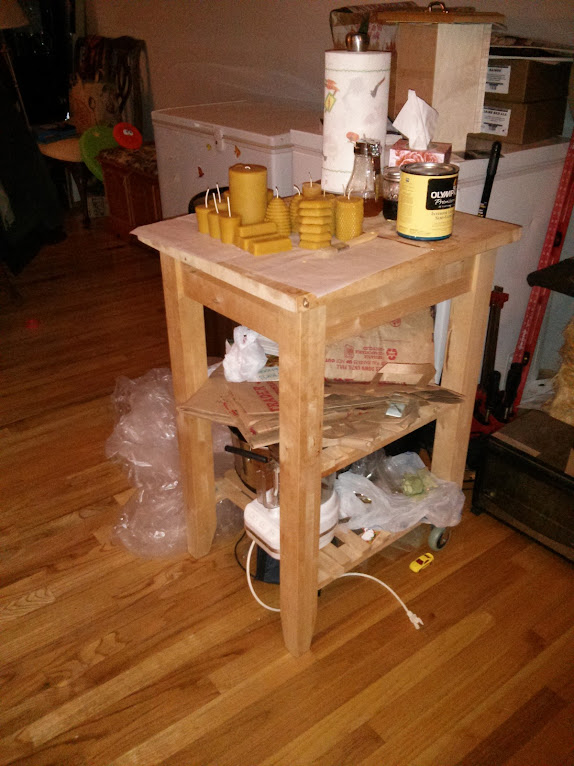
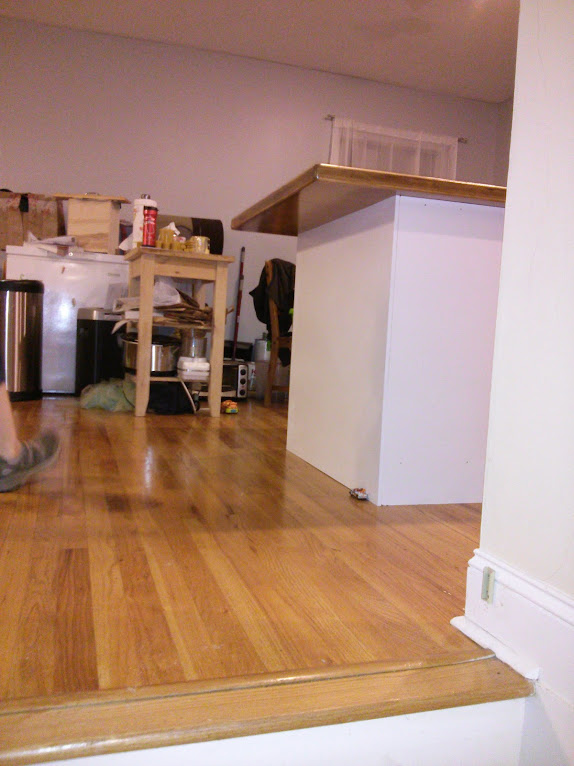
For a while (~3 years), our kitchen has been way too small for our needs. We need more storage for appliances that are not being used (floor doesn't count), more counter top space (4 sq. ft. of usable space is not enough), and shelves to put cookbooks (vertical towers of books make great obstacles for a toddler).
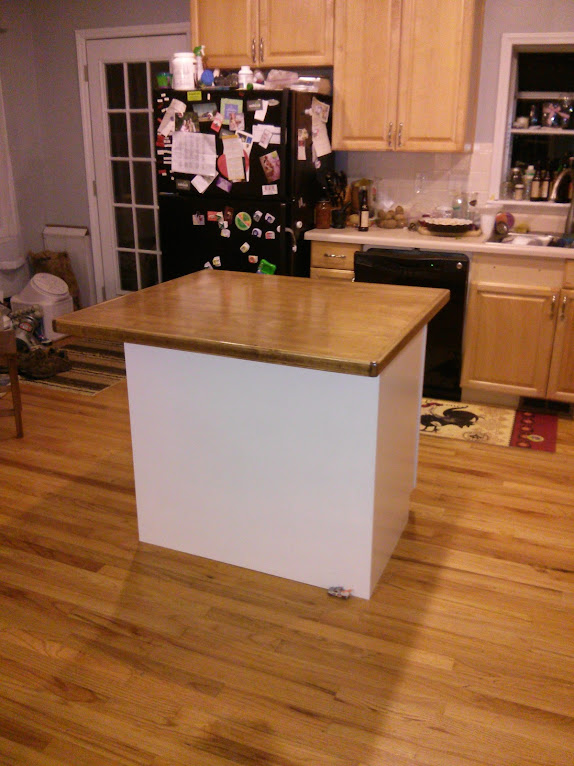
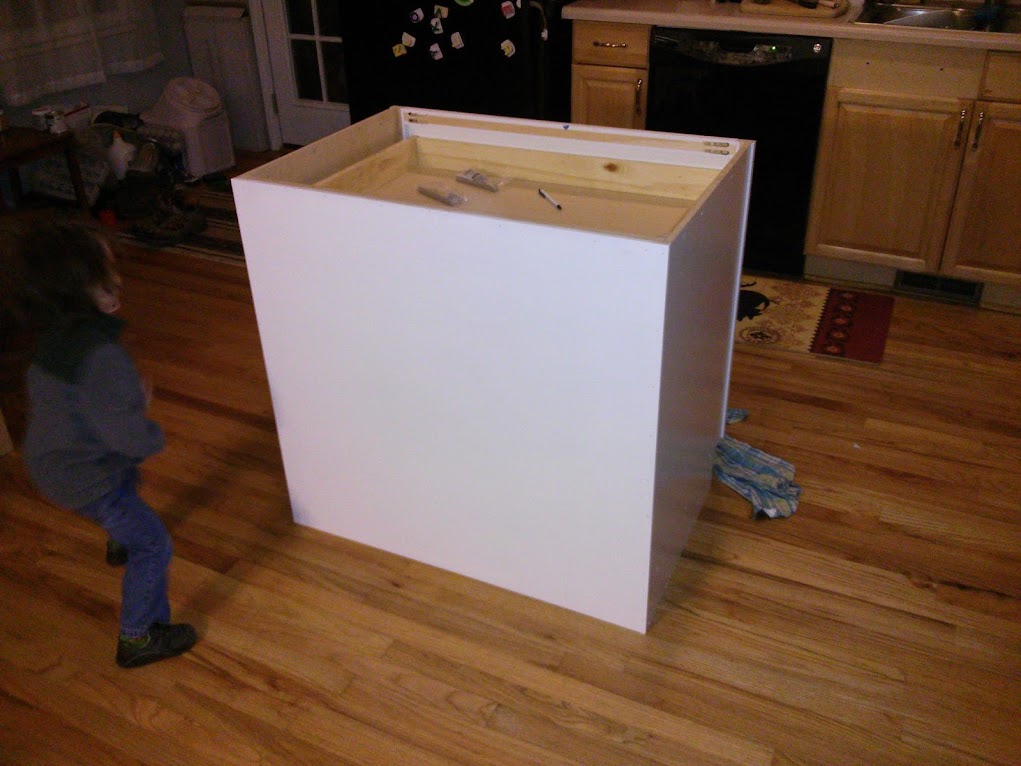
I started to work on a kitchen island project that wouldn't have happened anytime soon, if not for a bit of luck with winning Phil's generosity (a 36" base cabinet and solid core door).
After getting the cabinet home, it needed a back. I had some 1/2" plywood left over from a train table and plenty of primer/paint left over from the chicken coop.
The original plan for the island top was to use a sheet of 3/4" plywood folded to give a 1.5" top, but Phil had a solid core door available when I went to get the base cabinet. I'm not sure if a special tool is needed to properly remove that commercial door knob, but a reciprocating saw works really well. I rough cut the door in half through the knob and then cleaned up all of the edges with a circular saw. I added 3/4" pine(?) edging from some extra pieces of 1x6 I found in the shop. If I bought it for a previous project that still counts as free, right?

FYI, not enough clamps in that picture.
If you've ever heard the saying, "police your brass", it also applies to woodworking. Hypothetically speaking, if you were to misplace a screw from a door hinge and then rediscover the screw after placing the piece of solid core door on it, then congratulations are in order! You earned yourself a good excuse to refinish the door!
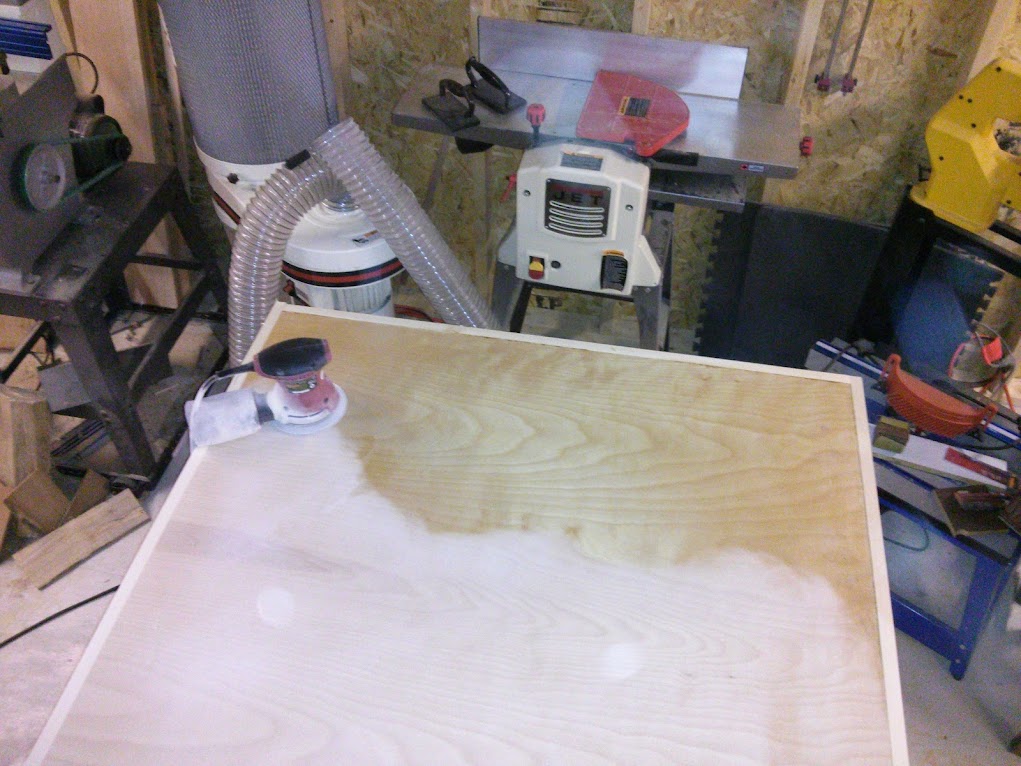
Now here's a picture of a partially sanded door for no particular reason.
With the help of a joist mounted radiant heater, I pre-stained and stained the entire piece today.

I need to wait for the piece to fully dry overnight and I'm wondering if there is something better for a kitchen counter top than a few coats of wipe on poly?
For a while (~3 years), our kitchen has been way too small for our needs. We need more storage for appliances that are not being used (floor doesn't count), more counter top space (4 sq. ft. of usable space is not enough), and shelves to put cookbooks (vertical towers of books make great obstacles for a toddler).
I started to work on a kitchen island project that wouldn't have happened anytime soon, if not for a bit of luck with winning Phil's generosity (a 36" base cabinet and solid core door).
After getting the cabinet home, it needed a back. I had some 1/2" plywood left over from a train table and plenty of primer/paint left over from the chicken coop.
The original plan for the island top was to use a sheet of 3/4" plywood folded to give a 1.5" top, but Phil had a solid core door available when I went to get the base cabinet. I'm not sure if a special tool is needed to properly remove that commercial door knob, but a reciprocating saw works really well. I rough cut the door in half through the knob and then cleaned up all of the edges with a circular saw. I added 3/4" pine(?) edging from some extra pieces of 1x6 I found in the shop. If I bought it for a previous project that still counts as free, right?
FYI, not enough clamps in that picture.
If you've ever heard the saying, "police your brass", it also applies to woodworking. Hypothetically speaking, if you were to misplace a screw from a door hinge and then rediscover the screw after placing the piece of solid core door on it, then congratulations are in order! You earned yourself a good excuse to refinish the door!
Now here's a picture of a partially sanded door for no particular reason.
With the help of a joist mounted radiant heater, I pre-stained and stained the entire piece today.
I need to wait for the piece to fully dry overnight and I'm wondering if there is something better for a kitchen counter top than a few coats of wipe on poly?
")