Corner cupboard progress--feet

Status
Not open for further replies.

JimReed2160

New User
jim
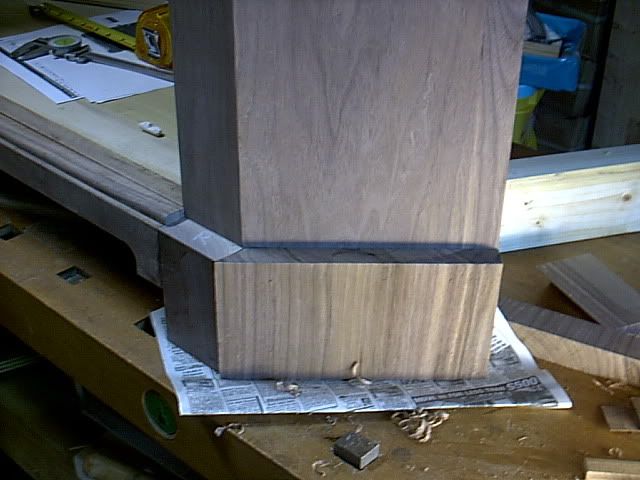
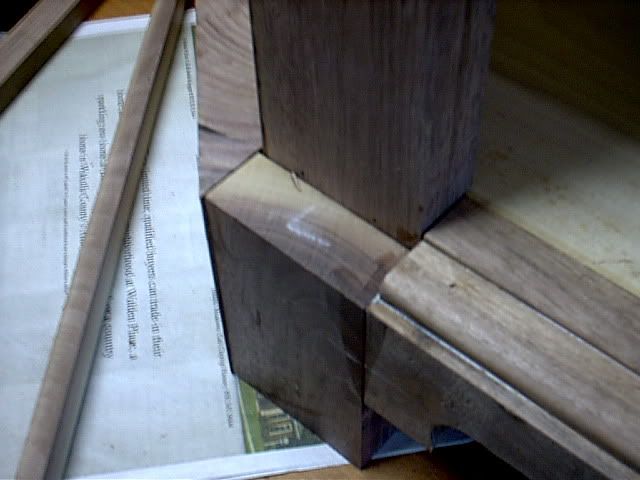
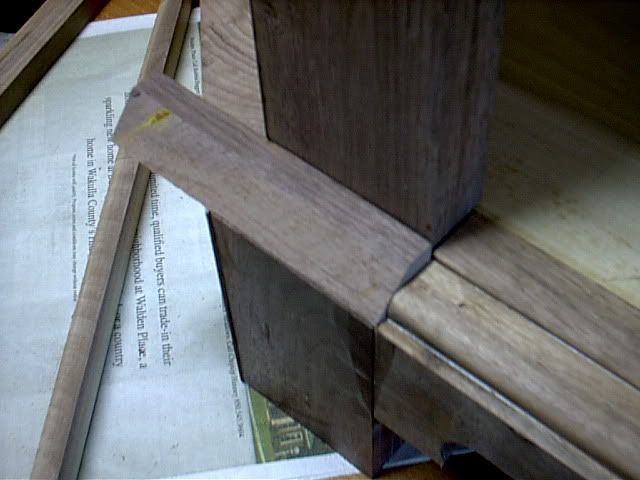
The walnut corner cupboard project is inching along--just the way I like it. This weekend I was able to install the foot buildup on each side along with a step up moulding on the front skirt. The drill--joint rough 5/4 wood with #7 and glue up. Use LN 40 1/2 to take off high spots. Use #7 to surface. Use wartime #4 1/2 with *Reedmaster Blade* for final finishing. Cut to size. Miter for fit. Use LN #62 to finish miter. Here is the picture of the completed foot build up.
IMAG0516.jpg
 

JimReed2160

New User
jim
And then it was on to the moulding for the front skirt. I made a few prototypes and finally came up with a pleasing extension with a 1/4 round on the end. That was cut using my new H&R plane set by CROW. I used a #5 hollow. I like to cut the corner. Then the top corner. Then the lower corner. Back and forth until all corners vanish and the plane refuses to cut. Here is the plane. Note the iron is bedded at 55 degrees. That angle works better in hardwoods. You can see the shavings look kinda like scraper shavings.

IMAG0509.jpg
 

JimReed2160

New User
jim
And here is the moulding in place. I needed a step down from the door opening to the skirt. I will add a lambs tongue or something on top of the feet & do some sort of transition to this piece.
IMAG0514.jpg
 

JimReed2160

New User
jim
I added the build up on the feet to add balance. Of course, the end grain looks pretty unsightly, so it needs a moulding. The foot top moulding will look something like this when it is in place. That is the next job.
IMAG0515.jpg
 

sapwood

New User
Roger
Jim, I really appreciate the detail of your WIP :icon_thum
Especially all those walnut shavings!

Roger
 

Trent Mason

New User
Trent Mason
Looks great Jim! :eusa_clap:eusa_clap:eusa_clap I can only hope to someday understand everything you said. :lol:

Trent
 
Status
Not open for further replies.

Premier Sponsor

Our Sponsors

LATEST FOR SALE LISTINGS

Top