You are using an out of date browser. It may not display this or other websites correctly.
You should upgrade or use an alternative browser.
You should upgrade or use an alternative browser.
press
-
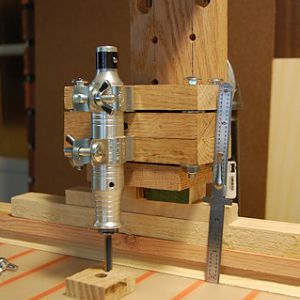
PIC 30 - Step 7b
Figuring out how much height adjustment I can get (using scrap wood spacers) before cutting channels in the ‘spine’- MT native
- Media item
- carving drill foredom homemade jig press relief
- Comments: 0
- Album: Homemade Relief Carving Jig
-
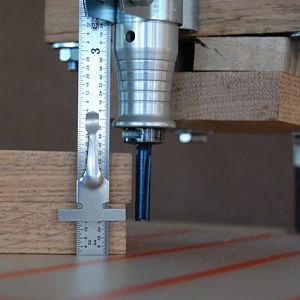
PIC 29 - Step 7b
If Z-axis Support were raised 1/2in then a max 1.5in block could be hogged-out to depth to 1/2in from bottom- MT native
- Media item
- carving drill foredom homemade jig press relief
- Comments: 0
- Album: Homemade Relief Carving Jig
-
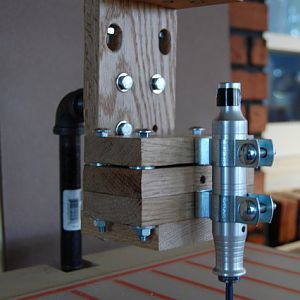
PIC 28 - Step 7a
Dry Fit to Frame to determine height above the table – Bit touches table NOT GOOD- MT native
- Media item
- carving drill foredom homemade jig press relief
- Comments: 0
- Album: Homemade Relief Carving Jig
-
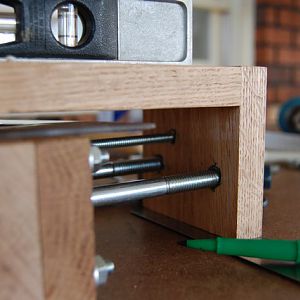
PIC 27 - Step 6d
Mark where the holes will be drilled. Repeat leveling, centering and marking for other end- MT native
- Media item
- carving drill foredom homemade jig press relief
- Comments: 0
- Album: Homemade Relief Carving Jig
-
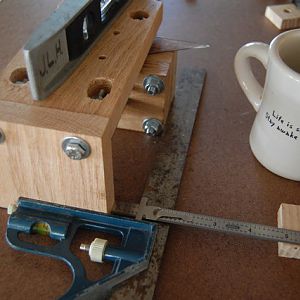
PIC 26 - Step 6c
Make sure the Carriage is centered and square to the Z-axis Support. COFFEE HELPS ME THINK- MT native
- Media item
- carving drill foredom homemade jig press relief
- Comments: 0
- Album: Homemade Relief Carving Jig
-
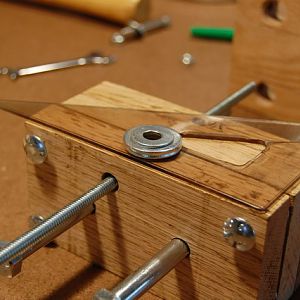
PIC 25 - Step 6b
Add spacers to simulate the travel clearance you will have between the bolt heads in the Carriage and the ‘spine’ of the Z-axis Support- MT native
- Media item
- carving drill foredom homemade jig press relief
- Comments: 0
- Album: Homemade Relief Carving Jig
-
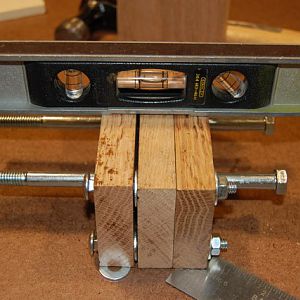
PIC 24 - Step 6a
Level the Carriage FRONT SIDE DOWN- MT native
- Media item
- carving drill foredom homemade jig press relief
- Comments: 0
- Album: Homemade Relief Carving Jig
-
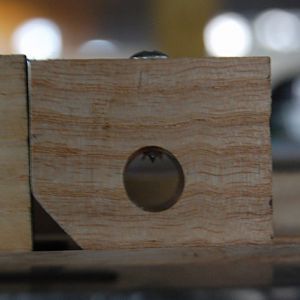
PIC 23 - Step 5i
Closeup of a screw in the Horizontal Stabilizer- MT native
- Media item
- carving drill foredom homemade jig press relief
- Comments: 0
- Album: Homemade Relief Carving Jig
-
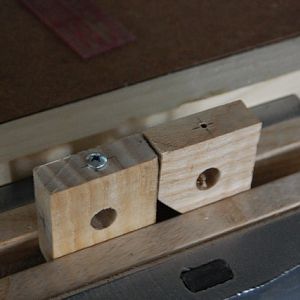
PIC 22 - Step 5i
Pre-drill for the screws that will secure the Guides horizontally- MT native
- Media item
- carving drill foredom homemade jig press relief
- Comments: 0
- Album: Homemade Relief Carving Jig
-
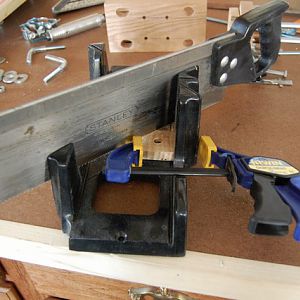
PIC 21 - Step 5h
Trim the corner of one of the Stabilizers to add clearance for the Depth Adjustment Rod- MT native
- Media item
- carving drill foredom homemade jig press relief
- Comments: 0
- Album: Homemade Relief Carving Jig
-
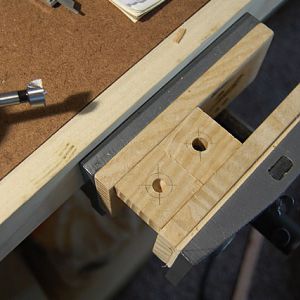
PIC 20 - Step 5g
Cut two (2) pieces for the Horizontal Stabilizers 1.5in x 1.5in and drill min 3/8in dia holes in centers for the Guides- MT native
- Media item
- carving drill foredom homemade jig press relief
- Comments: 0
- Album: Homemade Relief Carving Jig
-
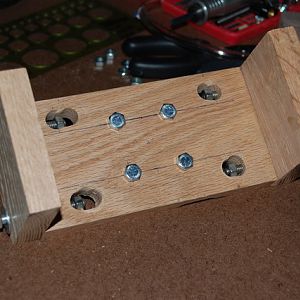
PIC 19 - Step 5d
Z-axis Support dry fit - four bolts in center for attachment to the Floor Flange on the Frame- MT native
- Media item
- carving drill foredom homemade jig press relief
- Comments: 0
- Album: Homemade Relief Carving Jig
-
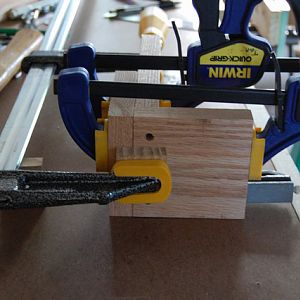
PIC 18 - Step 5b
Square the back (‘spine’) and ends of Z-axis Support before drilling pocket-holes - end view- MT native
- Media item
- carving drill foredom homemade jig press relief
- Comments: 0
- Album: Homemade Relief Carving Jig
-
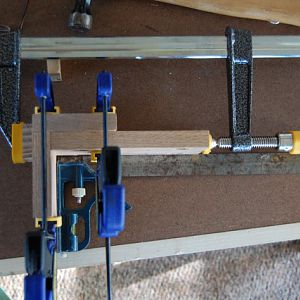
PIC 17 - Step 5b
Square the back and ends of Z-axis Support before drilling pocket-holes - side view- MT native
- Media item
- carving drill foredom homemade jig press relief
- Comments: 0
- Album: Homemade Relief Carving Jig
-
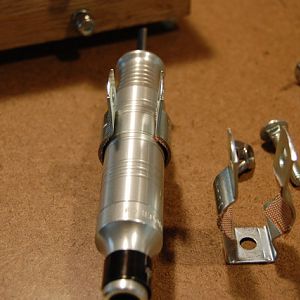
PIC 16 - Step 4b
Closeup of Foredom Hanger - FOLLOWUP - DO NOT USE ANYTHING ON HANGERS!!!! MESSY, STICKY, GOOEY YUCK!- MT native
- Media item
- carving drill foredom homemade jig press relief
- Comments: 0
- Album: Homemade Relief Carving Jig
-
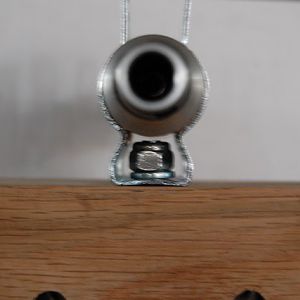
PIC 15 - Step 4a
Place the Foredom Handpiece in the Hangers and check to make sure there is clearance between the end of the carriage bolt and the Handpiece- MT native
- Media item
- carving drill foredom homemade jig press relief
- Comments: 0
- Album: Homemade Relief Carving Jig
-
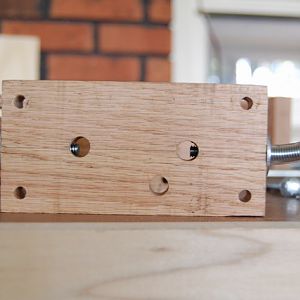
PIC 14 - Step 3e
Dry Fit the Handle(s) into the Middle Section of the Carriage. Trim off the excess tubing- MT native
- Media item
- carving drill foredom homemade jig press relief
- Comments: 0
- Album: Homemade Relief Carving Jig
-
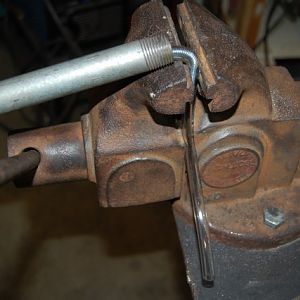
PIC 13 - Step 3d
Insert the 4in piece into 1/4in I.D. Vinyl Tubing and bend in a vise to make the Locking Handle- MT native
- Media item
- carving drill foredom homemade jig press relief
- Comments: 0
- Album: Homemade Relief Carving Jig
-
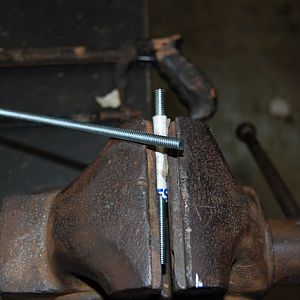
PIC 12 - Step 3c
Cut a 4in piece from 1/4in-20 x 36in long Threaded Rod. I used a Hack Saw- MT native
- Media item
- carving drill foredom homemade jig press relief
- Comments: 0
- Album: Homemade Relief Carving Jig
LATEST FOR SALE LISTINGS
-
-
Graco 395 FinishPro air assisted airless sprayer for sale
- Started by RobH
- Replies: 1
-
-
-
